How to Drill a Climbing Wall Panel for T-Nuts
How To Drill a Rock Climbing Wall Panel For T-Nuts
(This step should only be started after you've finished painting your panels. Click here for a complete guide.)
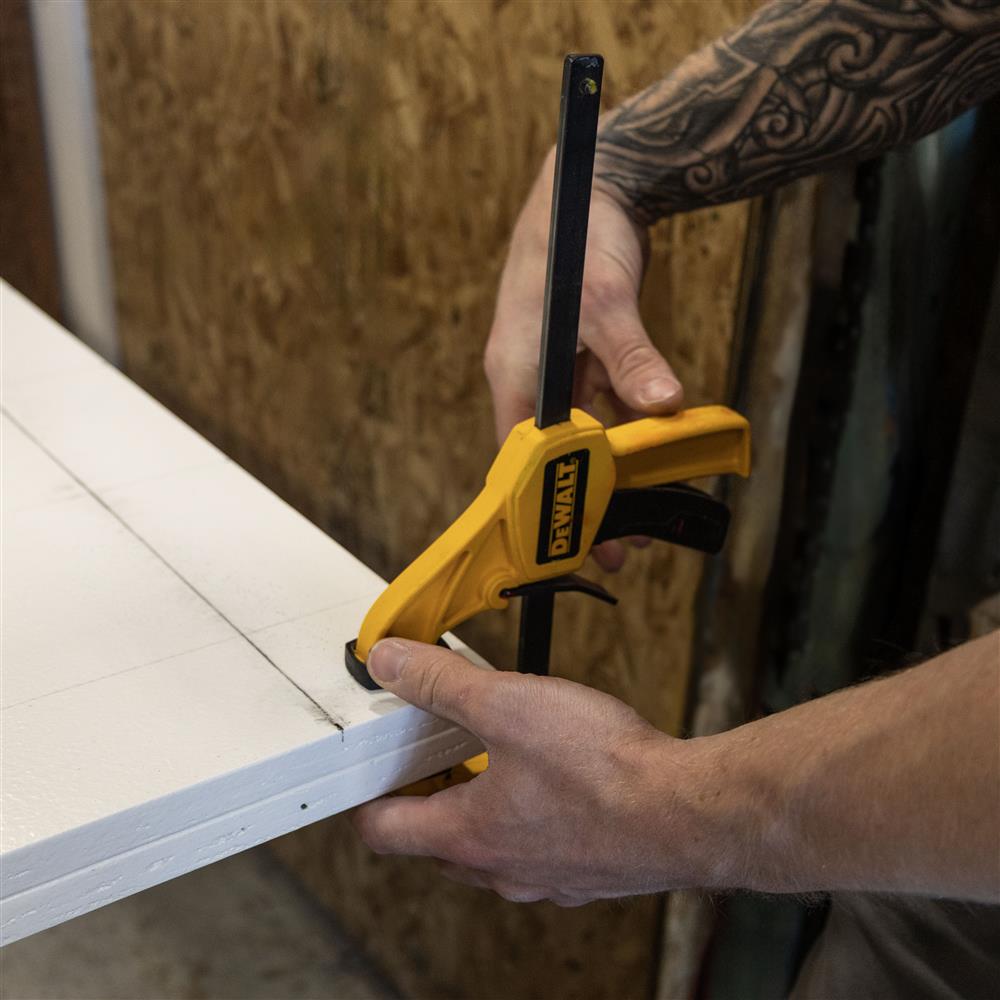
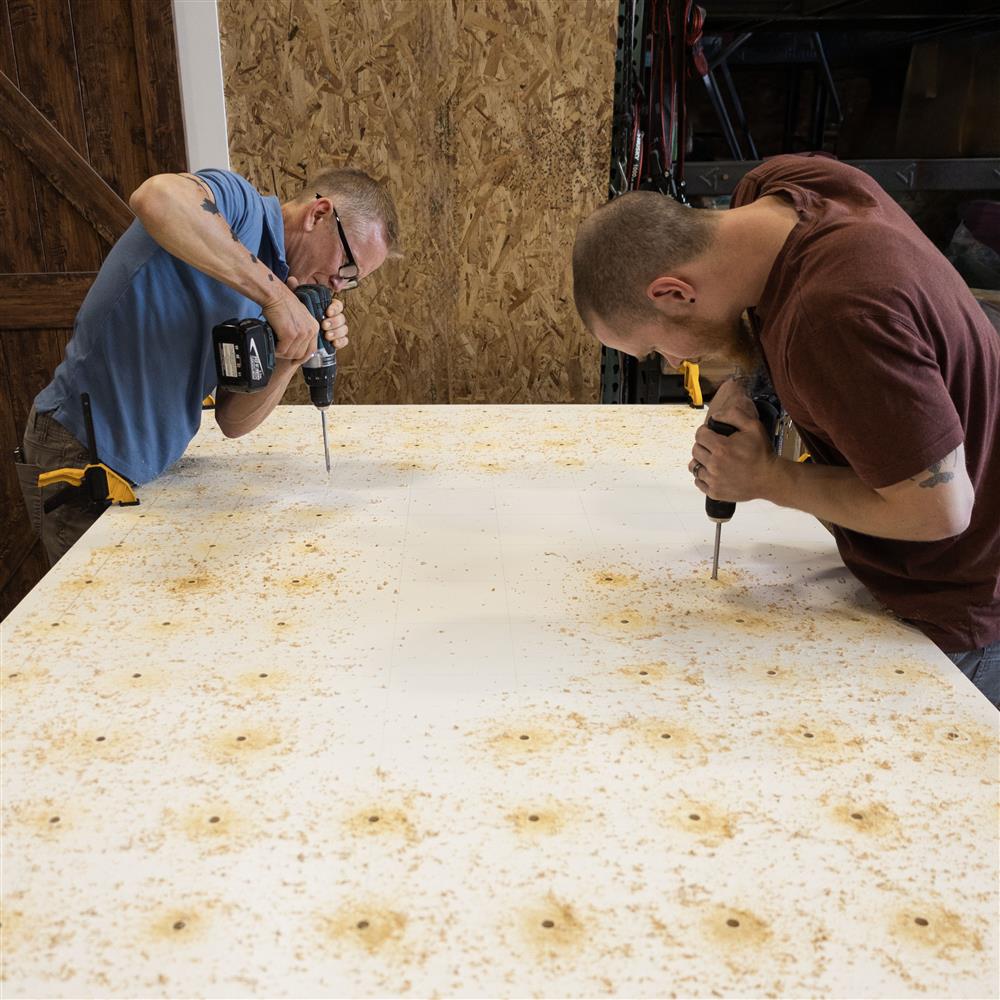
Hot tip! If you're drilling multiple wood panels for T-nuts, you can save time by stacking the panels and drilling them all at once. Use clamps to keep the panels in place while drilling. Lift your clamped panels off the ground to prevent damage to your drill bit. This can be accomplished by placing a wooden pallet under your panels so that when your drill bit penetrates the last panel, it will, at worst, drill into the pallet instead of hitting the floor, which would damage it. Use a drill bit that is long enough to go through all the panels.
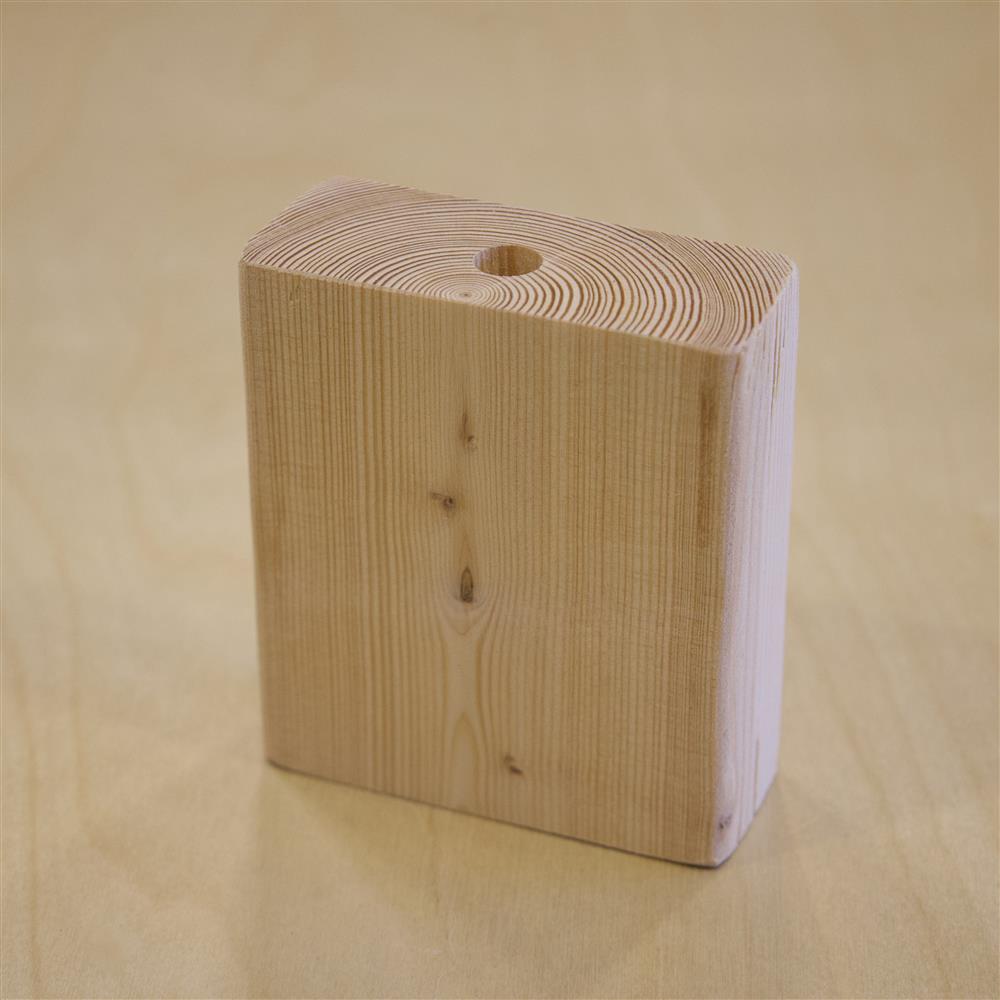
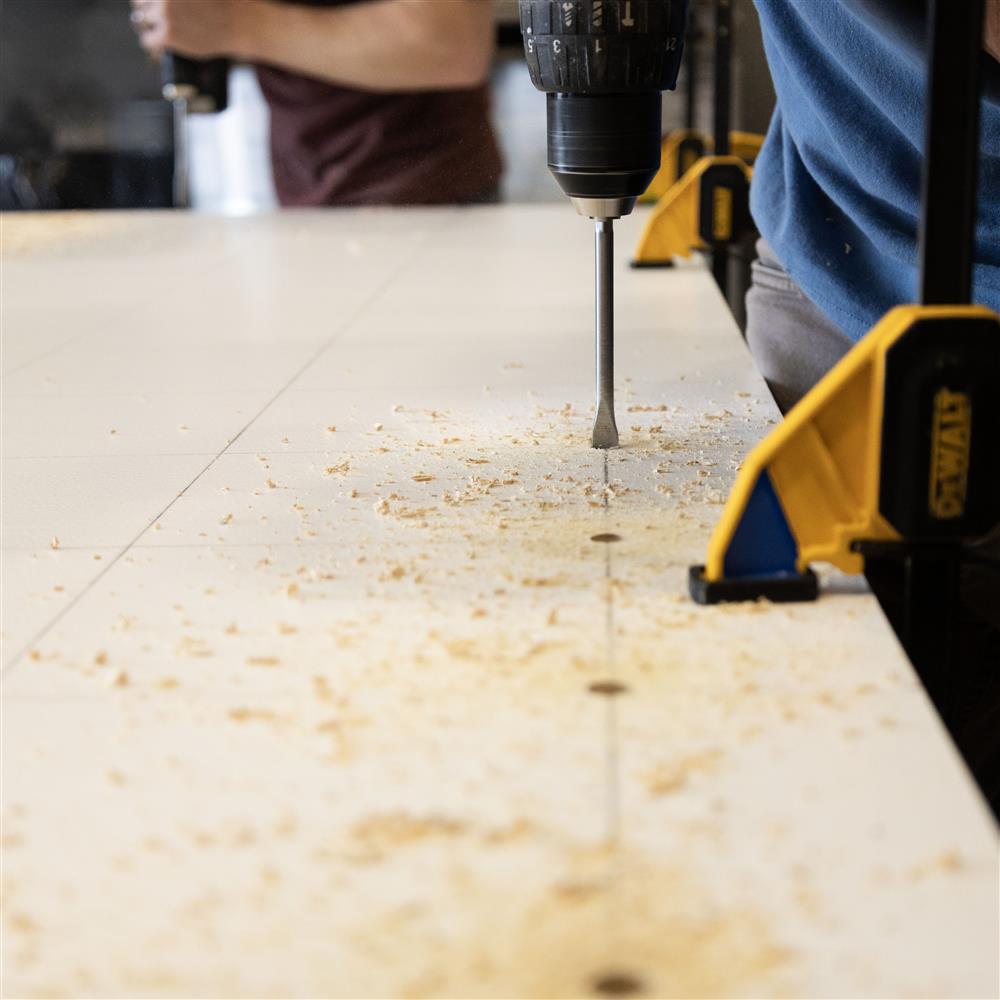
Hot tip! Chop and drill a small block of wood to ensure your drill remains perpendicular while drilling. A piece of 2x4, cut into a square on a chop saw, will get the job done. Drill it with a 7/16" hole in the center of the block. This is useful, but not necessary. See the image below and the video above.
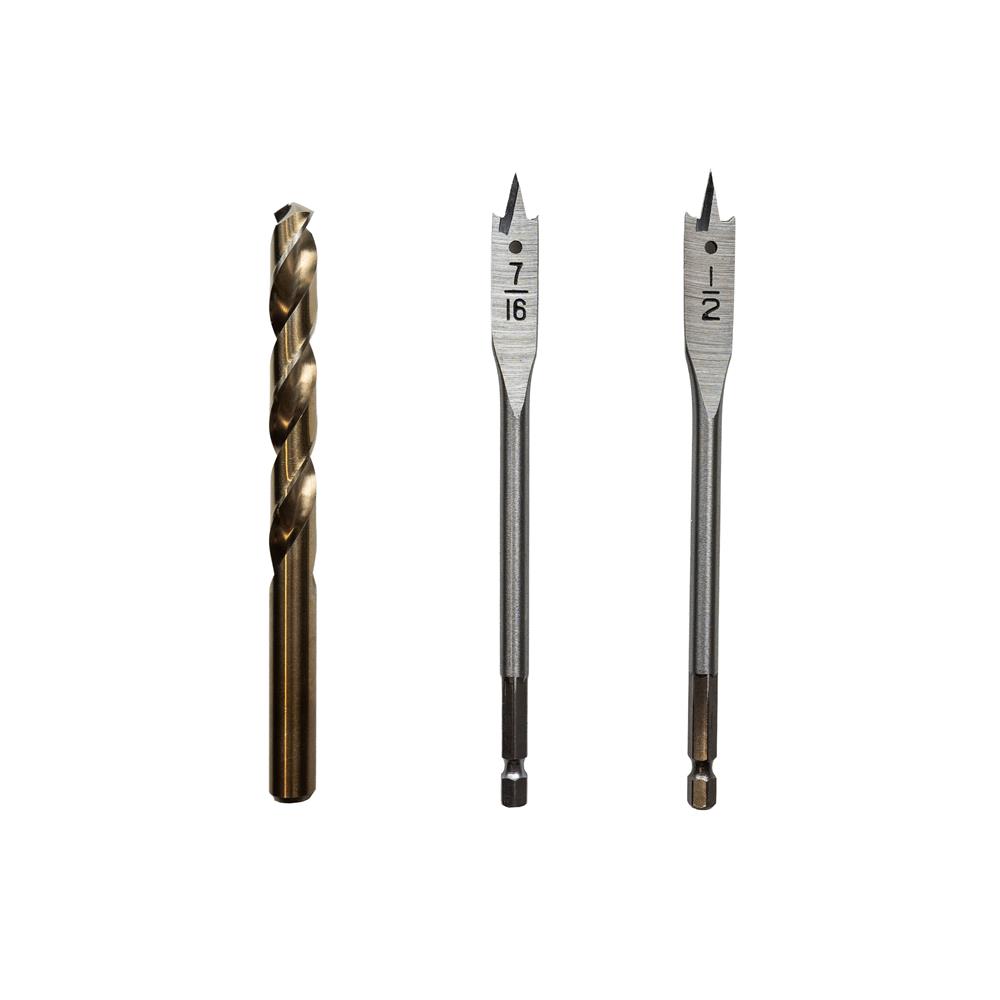
7/16" is the size for most T-nuts; however, industrial T-nuts require a 1/2" hole. We used a 12" long general-purpose bit when drilling multiple panels. A spade bit is suitable for drilling one panel at a time; however, a general-purpose bit works best with a jig for drilling multiple panels.
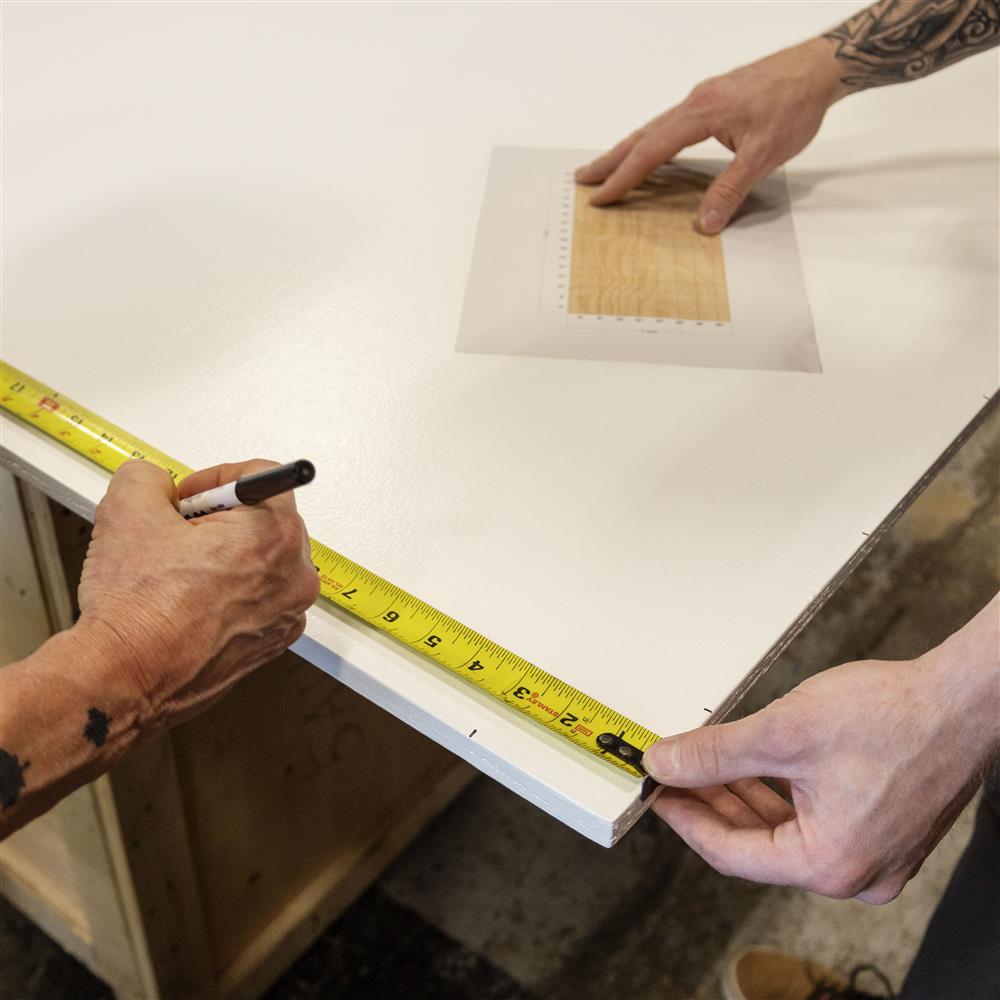
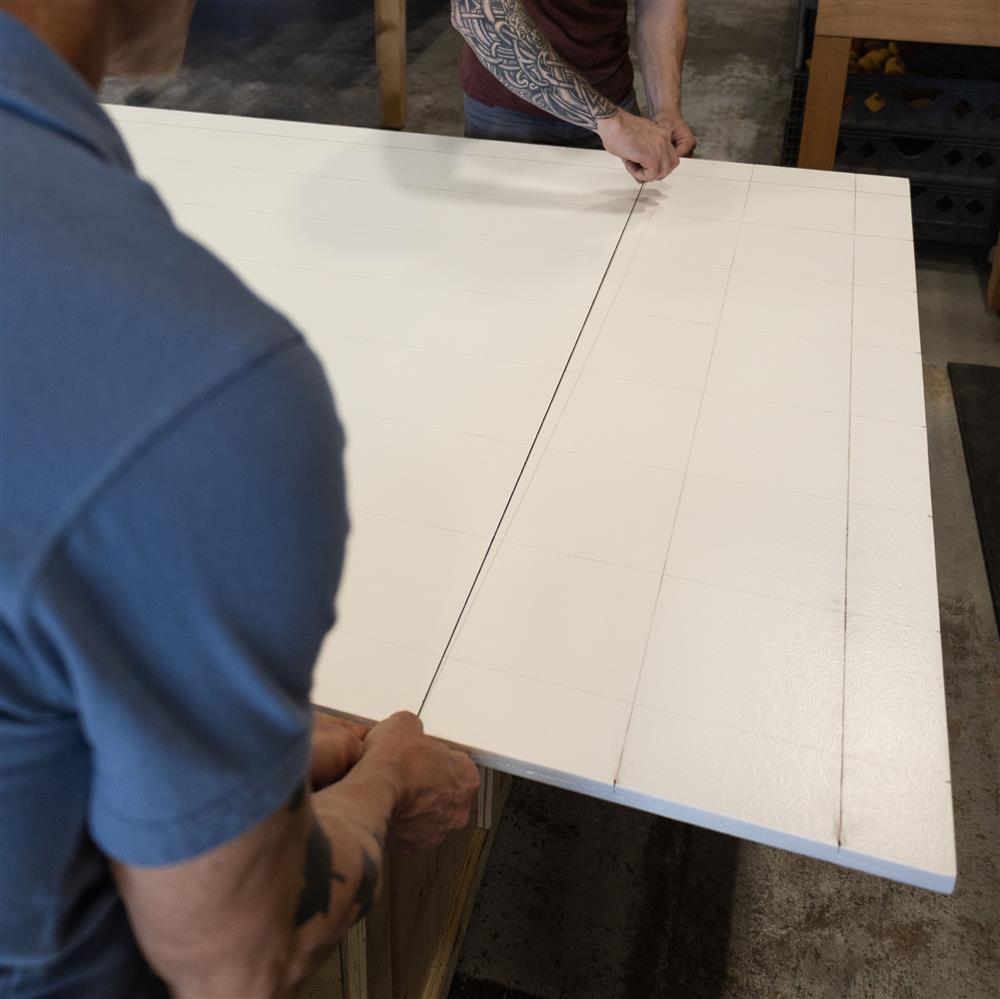
Use a measuring tape, dry-erase marker or pencil, and chalk line to mark the spots where you want your T-nuts. Once marking is complete, your panel should have a grid layout on it. In the video example above, there are eight rows of T-nuts across and sixteen rows down for 128 T-nuts per panel.
Click here for our printable t-nut layout guides.

Quality Control Tip: Always orient your panels so that the front of the panel is face up. When drilling, the pressure applied to the drill/drill bit blows out the back of the hole as the drill bit passes through the material. Steady, even pressure is ideal, as it will lessen this effect. However, it is quite difficult to avoid blowouts altogether. By keeping the blowouts on the back side, they won't be seen, and the t-nuts will be installed over them.
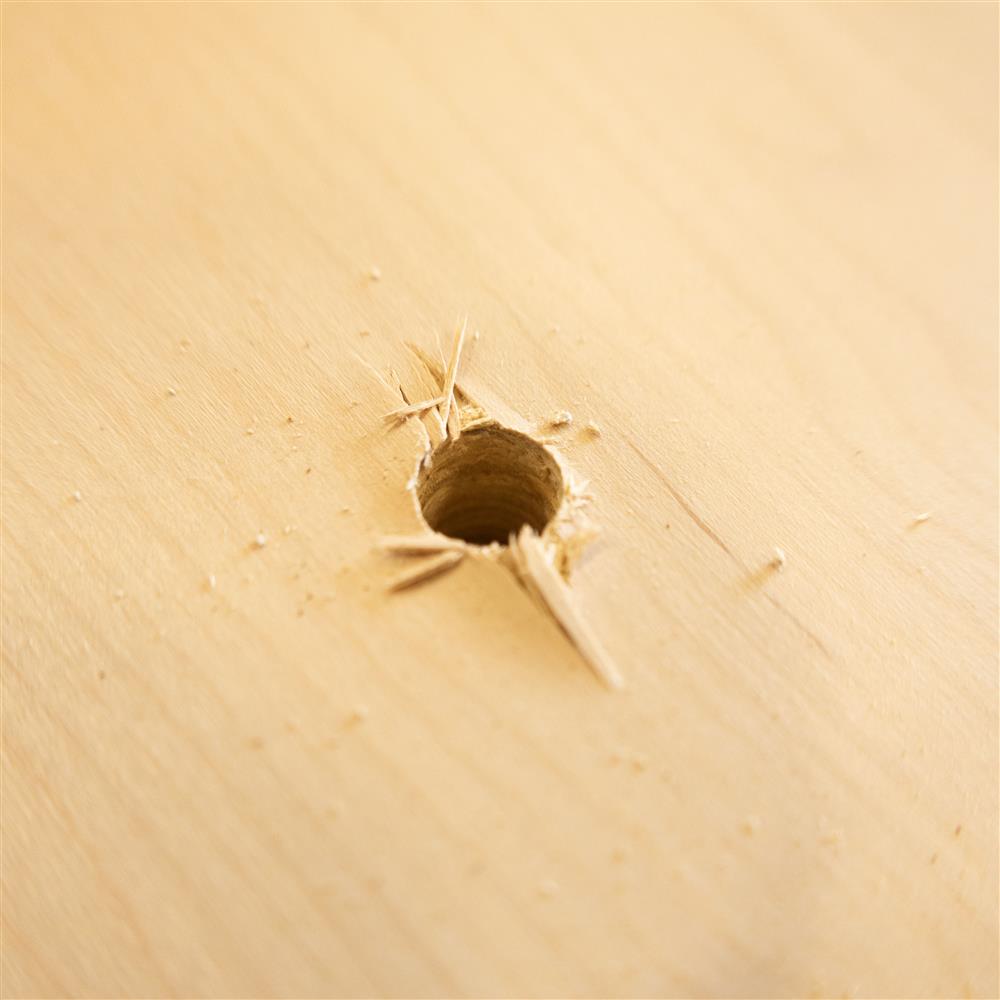
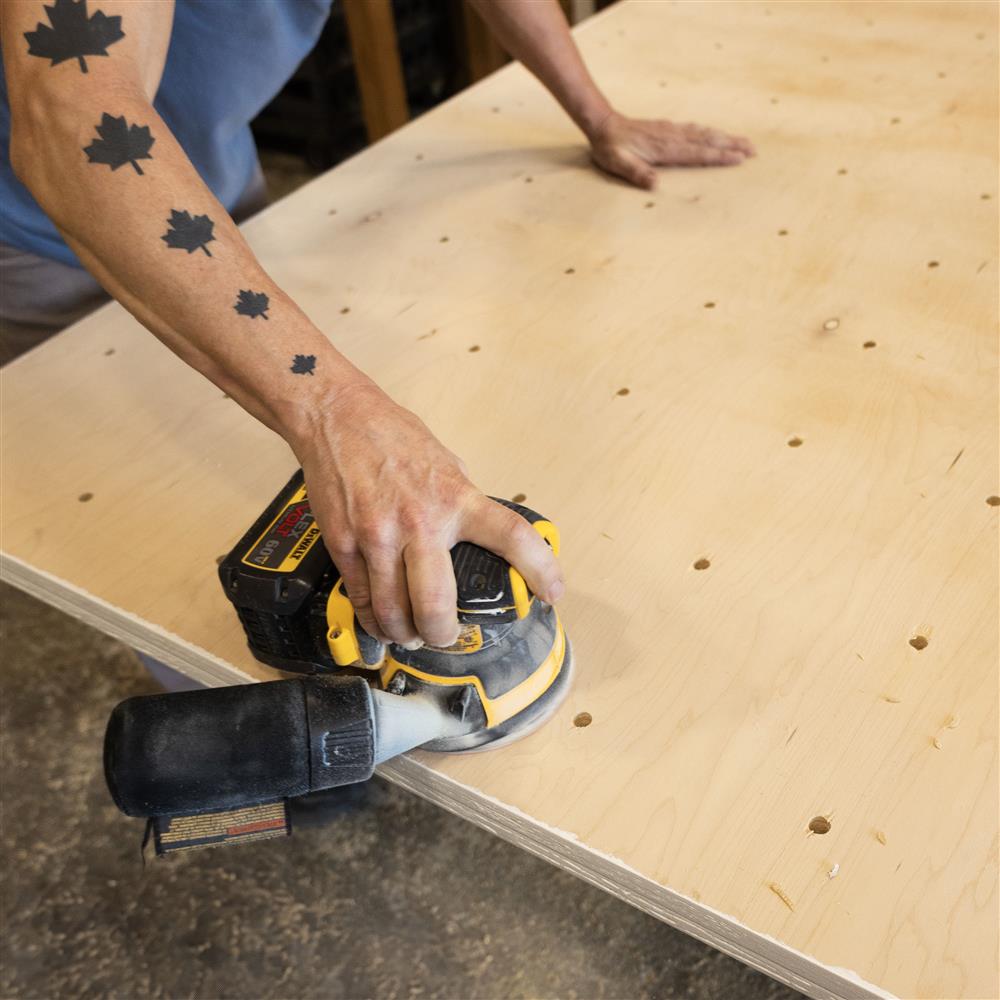
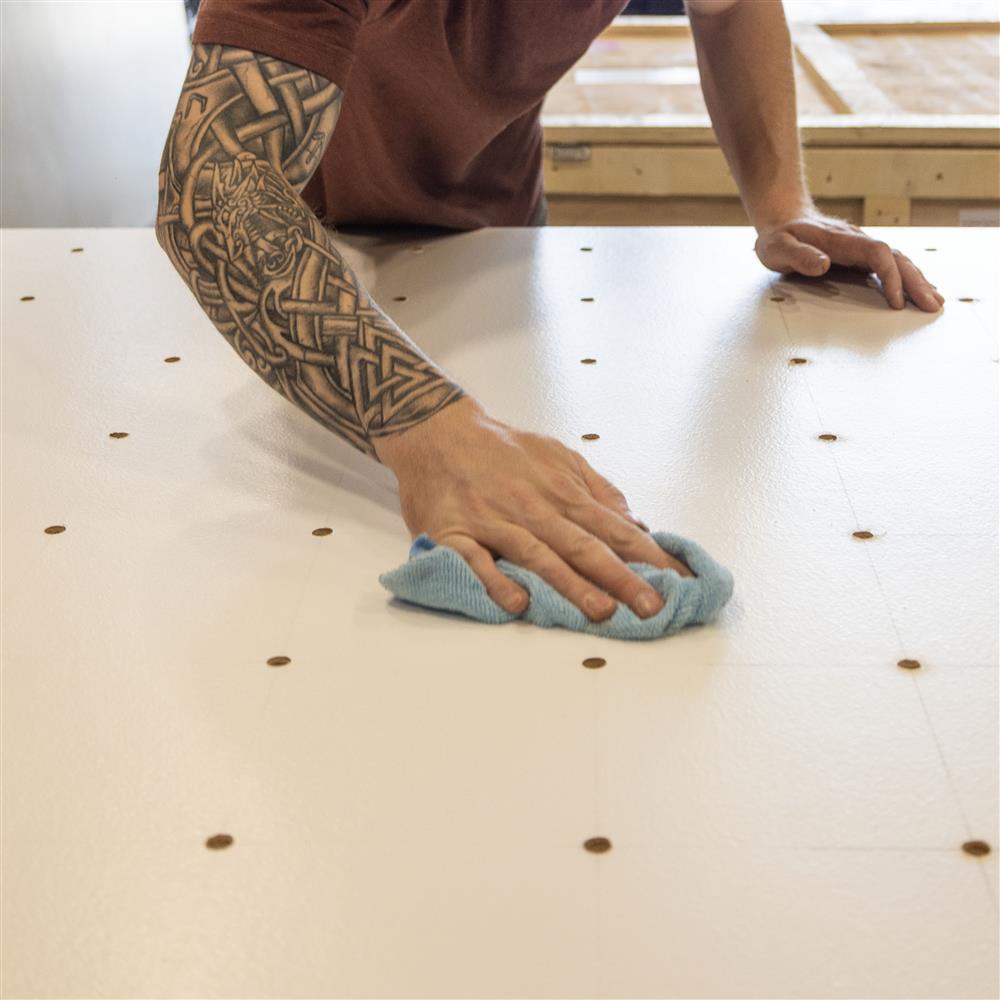
Once you're done drilling all the holes, sanding the back side will make installing your t-nuts easier, as it will eliminate any uneven areas caused by blown-out holes. Don't forget to clean off any leftover markings on the front sides of your panels.
Follow How To Install a T-Nut for the next steps.
55 East 600 South, Provo, Utah 84606
Tel. 801-404-0280
[email protected]