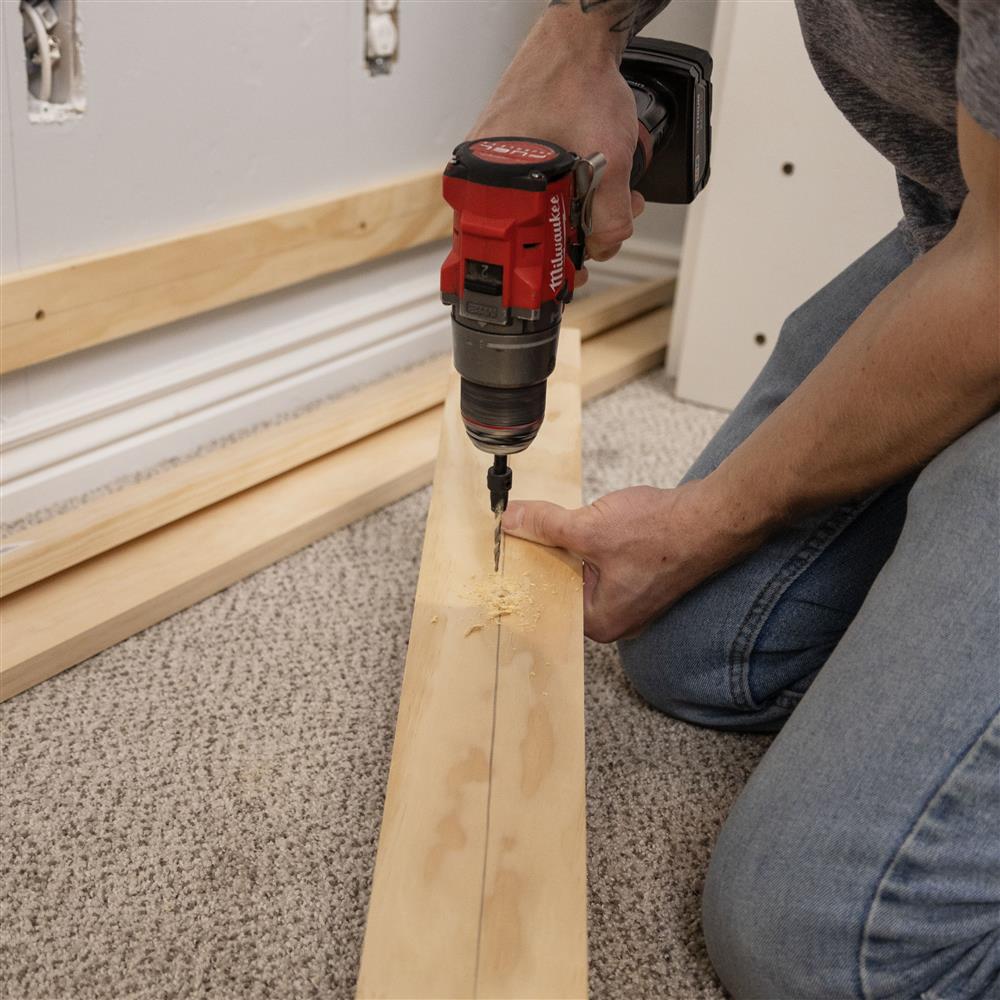
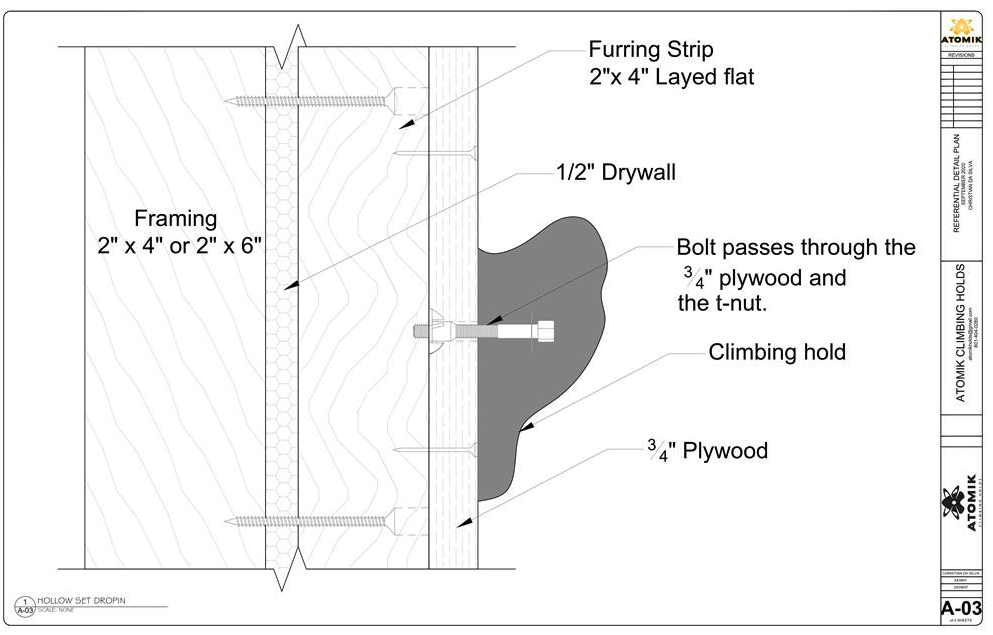
The minimum furring strip could be a 1 x 2, which is a nominal measurement. It measures 3/4" x 1-1/2". The issue with small furring strips of that size is splitting. Hence, the way we go about it is to use a #6 COUNTERSINK on the furring strips, ensuring that the screw used passes through the furring strip, through the drywall, and a minimum of 1" into the wall stud. We use a #6 countersink so that we can get a full purchase of the threads on the screw.
If using a #10 Countersink, be sure to draw the pilot hole bit back to 3/4" to 1" protruding from the head of the countersink. The pilot hole that a #10 drills is 3/16" which is too big for a #8 or #9 Structural Screw.
Length of Screw to Attach 1 x 2 (3/4" x 1-1/2") Furring Strips
The math to attach the strips is 3/4" thick furring strip + 1/2" drywall + 1" of the screw into the stud = 2-1/4" but 2-1/2" works too. If you are the overkill kind of builder and want to go 3" be sure there is no electrical or plumbing in that wall. You can hit the electrical wire (Romex) in the wall or the plumbing. Electricians and Plumbers try to run their work in the center of the 2 x 4 wall. However, they are human, and they can wander to either side.
Length of Screw to Attach 2 x 4 (1-1/2" x 3-1/2") Furring Strips
You can rip the 2x4 down. Using the original 1-1/2", you can rip the 3-1/2" side down to 2".
Location of Screws on the Furring Strips
The main thing to consider is that when you have attached the furring strip and are laying the panel on top, you should avoid placing the furring strip attachment screws in the exact locations as the panel screws.
You can pass a panel screw from the panel into the wall stud. This requires a new level of planning and coordination.
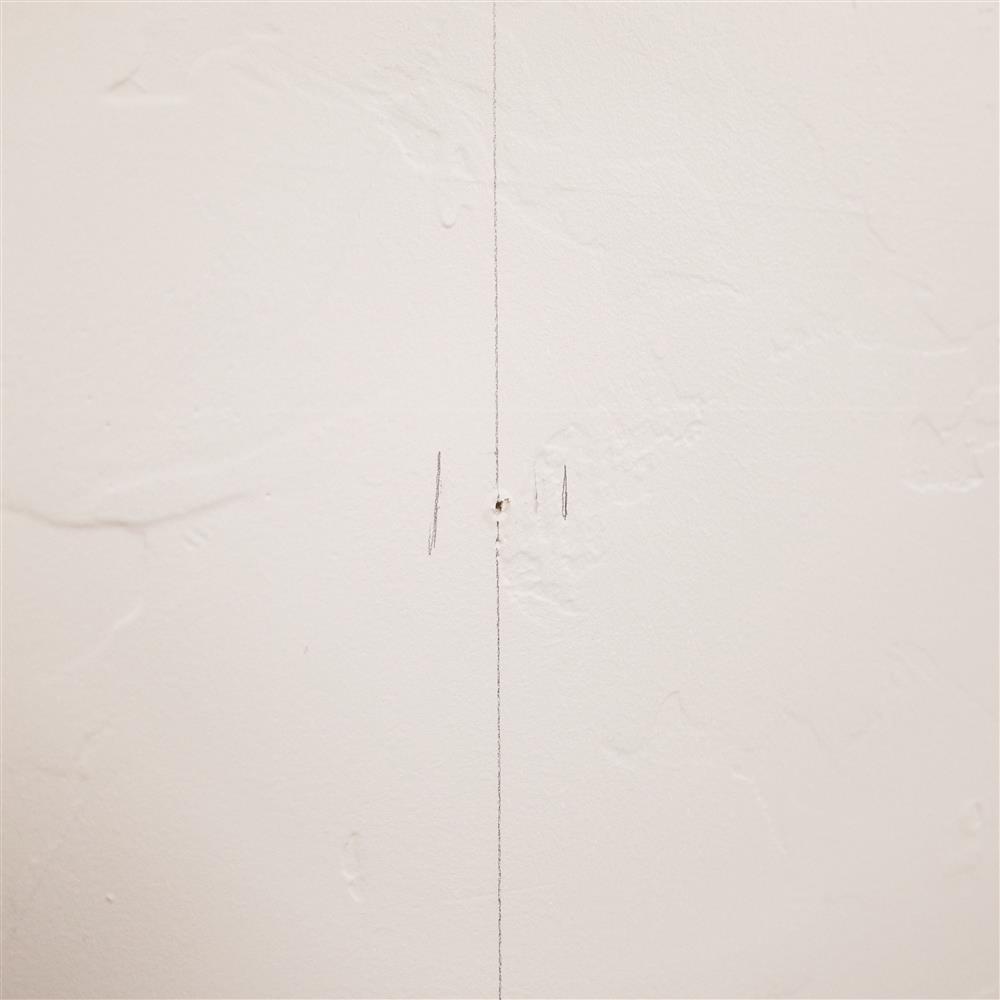
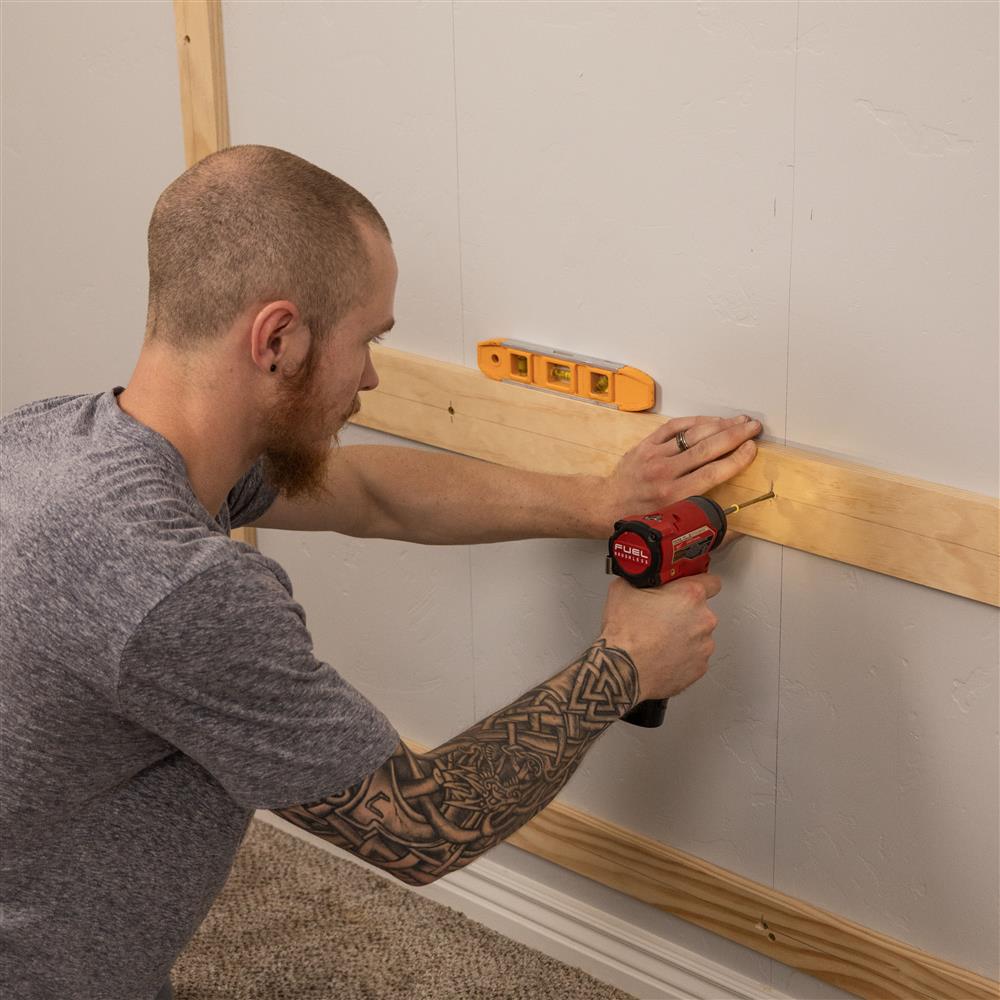
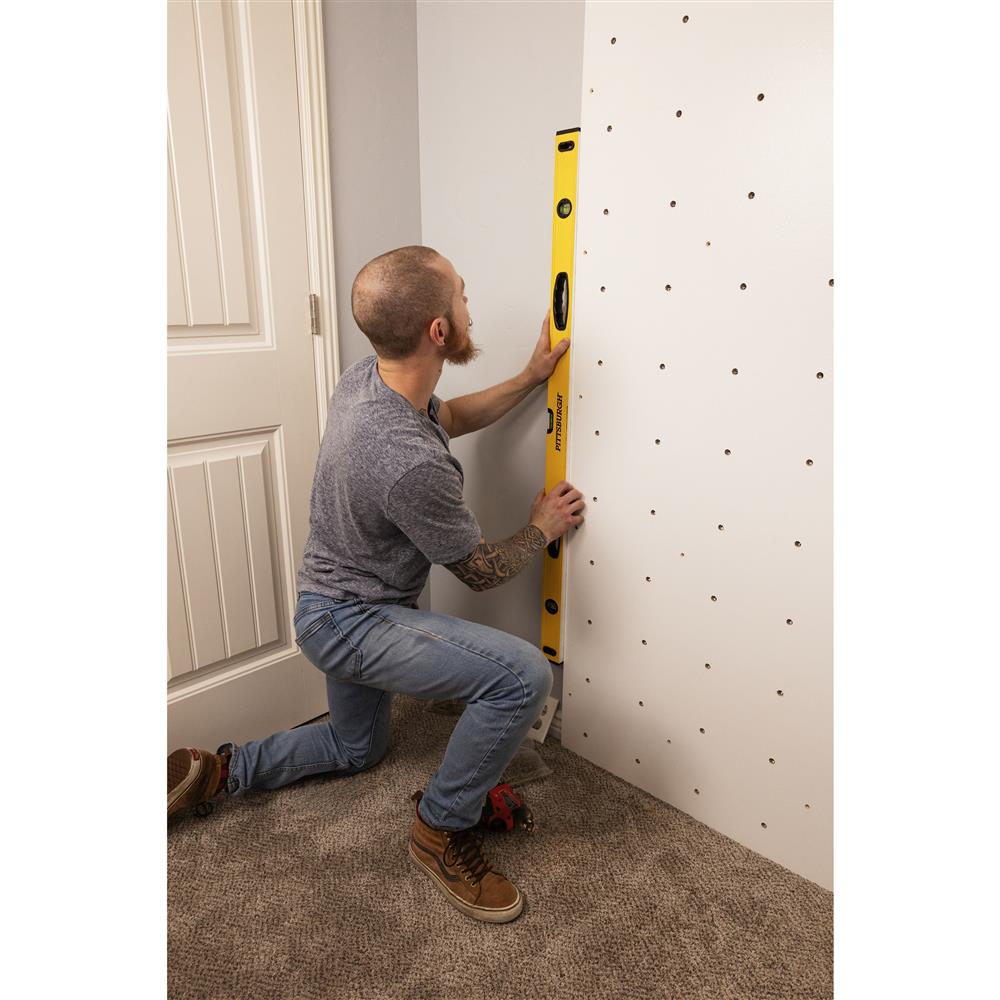
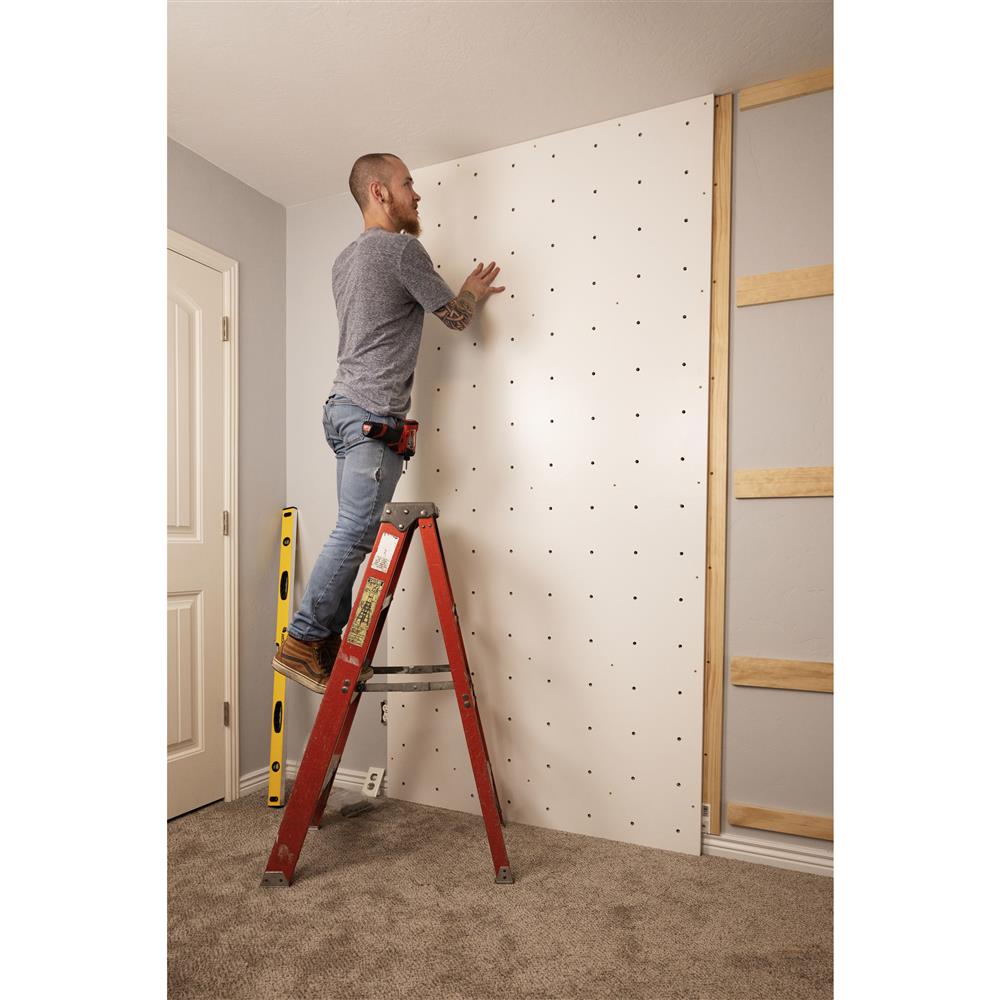
Mark your wall where your furring strips will be installed. Precisely mark and drill the corresponding holes in your furring strips. Align and attach them to your wall.
Location of the Furring Strips
Before installing the furring strips on the wall, ensure they do not align with a row of T-nuts. Otherwise, the climbing wall panel won't lie flat. Some solutions can be quick fixes, but are not as good as pre-planning. If you have a t-nut landing on a furring, DO NOT try drilling the furring strips through the t-nut hole. If you have ever played the game Operation, touching the sides of a t-nut will ruin it.
If Your Panel Lands on a Furring Strip
1. **Dry Fit the Panel:** Begin by placing the panel onto the 2x8s in its intended position. Use only a minimal number of screws to temporarily hold it in place. This is known as "dry fitting."
2. **Mark T-Nut Holes:** Once the panel is positioned correctly, use a marker or pencil to push it through each t-nut hole to mark the 2x8s beneath.
3. **Remove the Panel:** Carefully lift the panel away from the 2x8s after marking.
4. **Drill Holes:** Using a drill bit 1-1/2"+ in diameter, create holes at the marked locations on the 2x8s. Drill to at least 1 inch to ensure the climbing hold bolts don't hit the bottom of the holes.
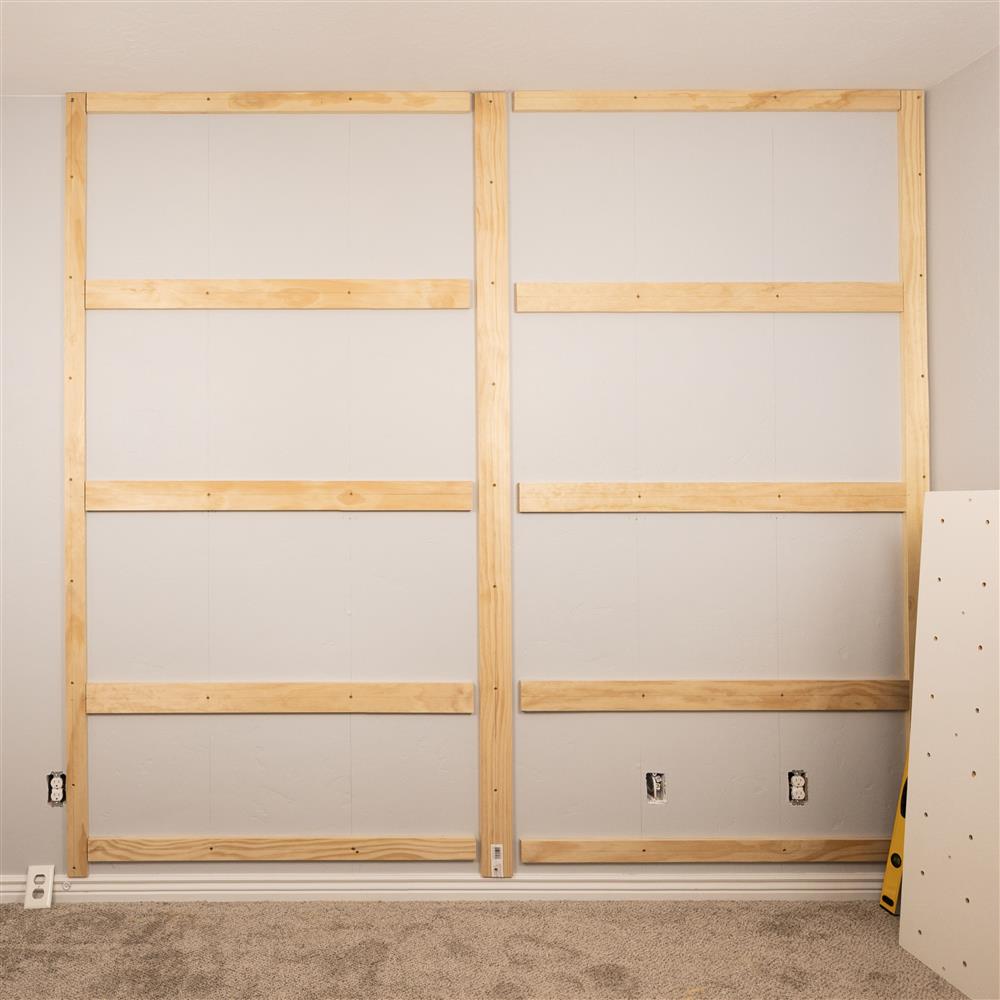
Spacing of the Furring Strips
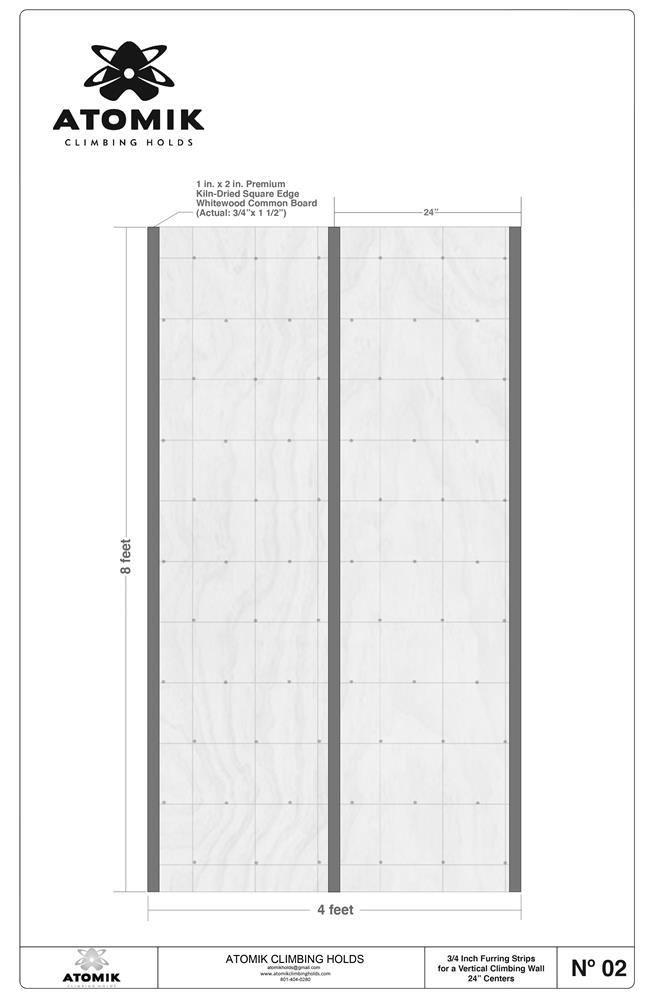
The minimum amount of furring strips is a 24"/2-foot spacing.
Attaching the Panel to the Furring Strips
The length of screw to attach to the furring strips needs to be 3/4" for the panel + the total thickness of the furring strips. It is okay for your screw to pass through the furring and into the drywall behind. Ensure that the screws you use to attach the panels pass entirely through the furring strip.
Orientation of the Furring Strips
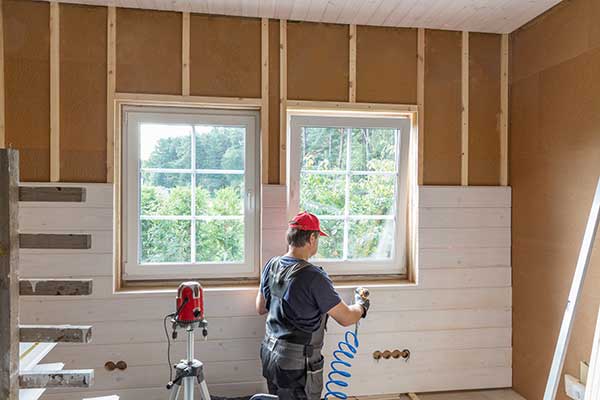
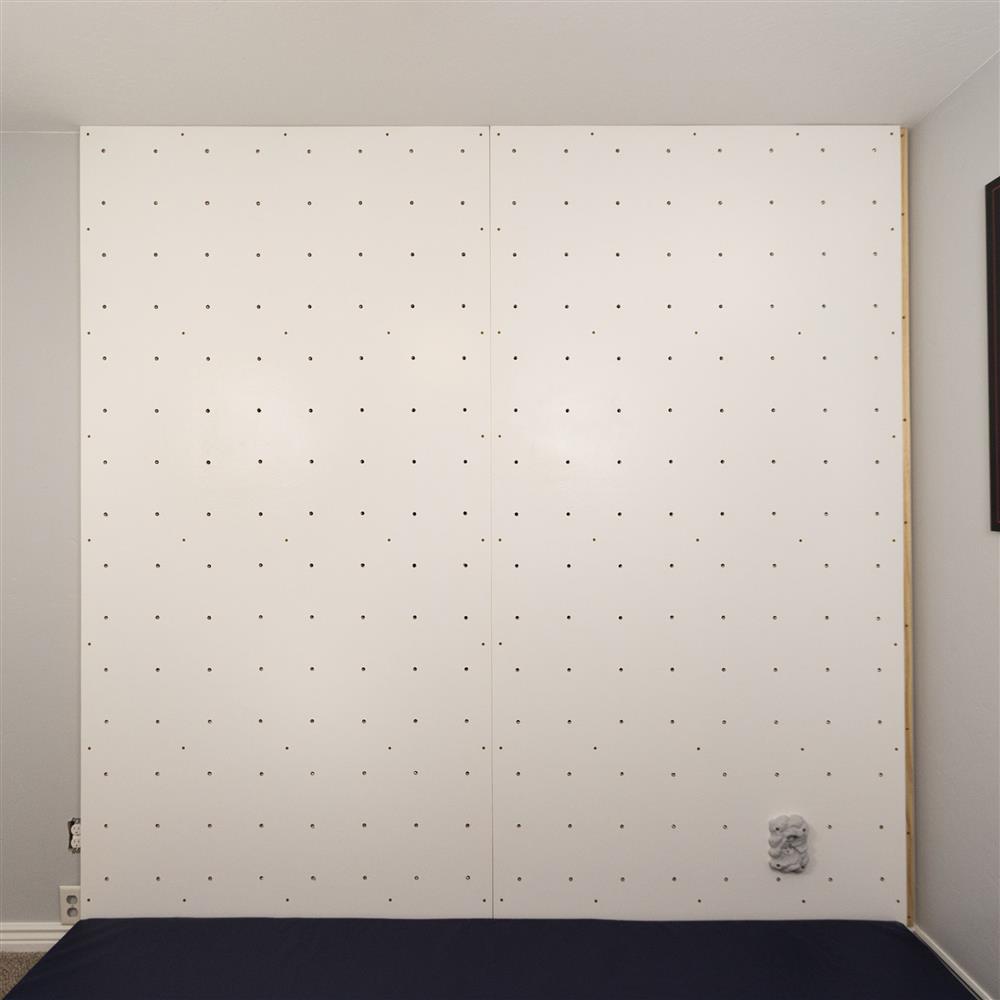
When attaching furring strips to a residential wall, it is easiest to run the furring strips horizontal so that you can land your attachment screws on as many of the studs in the wall as possible. If the sides and/or tops of the panels are exposed, we recommend capping those areas with furring strips to prevent hands from getting behind the panel.
 .
. 
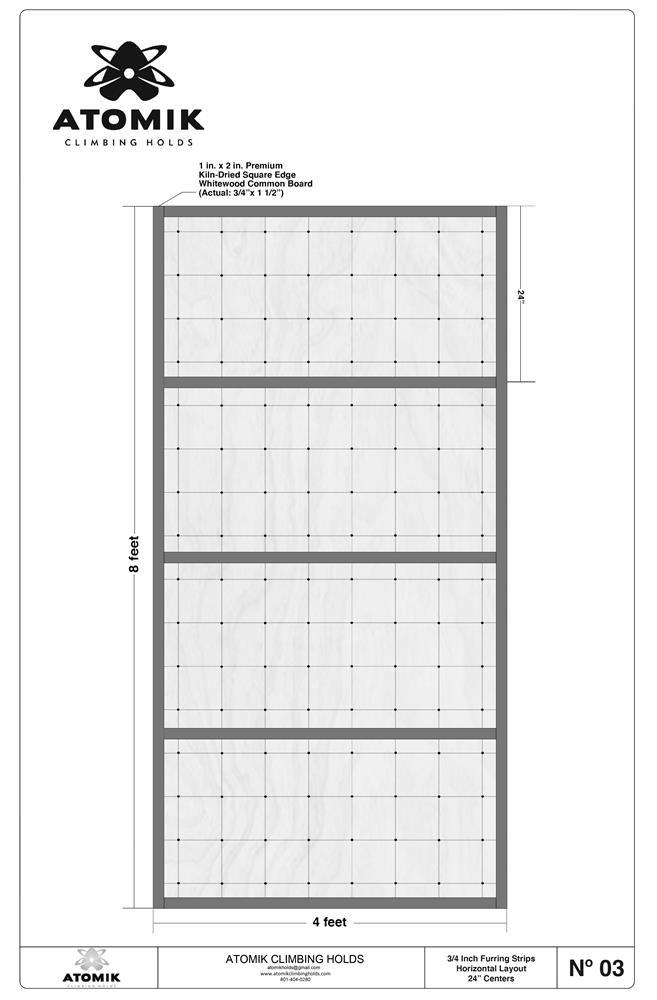
24" HORIZONTALLY SPACED FURRING STRIPS (1"x2")
CLICK ME FOR THE 24" HORIZONTALLY SPACED FURRING STRIPS PDF
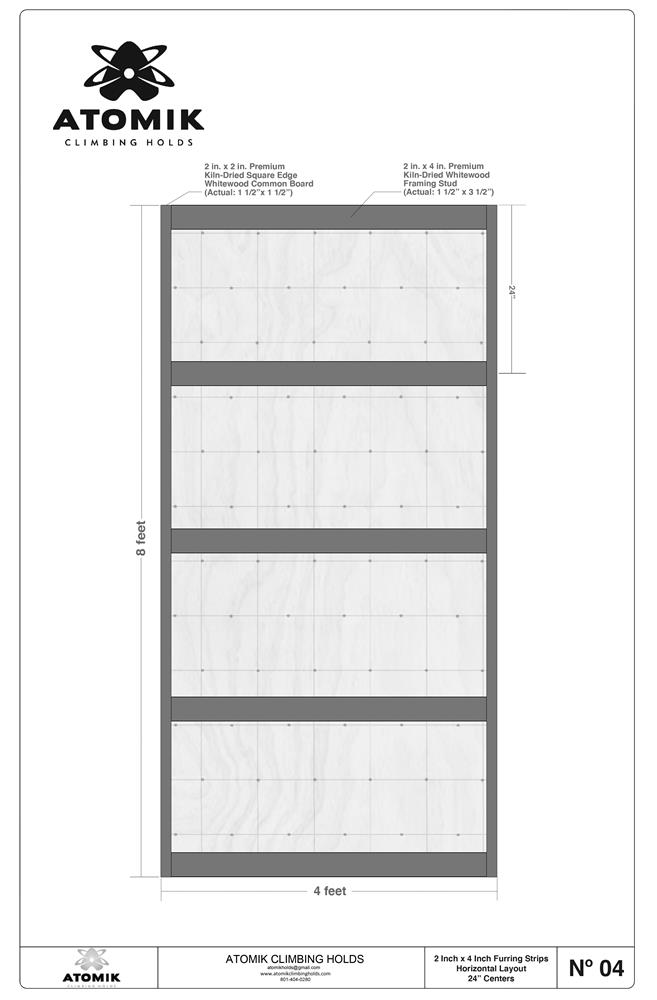
24" HORIZONTALLY SPACED FURRING STRIPS (2"x4")
CLICK ME FOR THE 24" HORIZONTALLY SPACED FURRING STRIPS PDF
Horizontal is the preferred layout for furring strips in the climbing industry. However, vertical layouts are also possible.
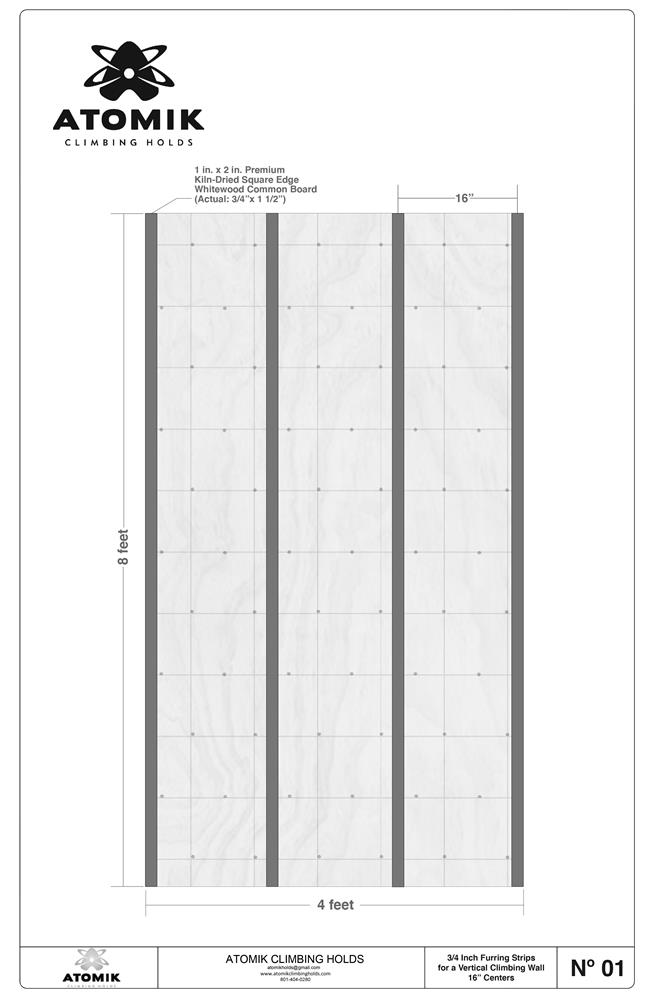
16" VERTICALLY SPACED FURRING STRIPS (1"X2")
CLICK ME FOR THE 16" VERTICALLY SPACED FURRING STRIPS PDF
24" VERTICALLY SPACED FURRING STRIPS (1"X2")
CLICK ME FOR THE 24" VERTICALLY SPACED FURRING STRIPS PDF