Overview
Are you an architect who is considering specifying Atomik for your project? If so, I can assist you in selecting the most appropriate product. With my extensive knowledge of every Atomik product and its installation process, we can have a conversation to make your cut sheets concise and easy to understand. My goal is to make your job easier by providing expert advice and unbiased options to help you achieve your desired outcome. Please don't hesitate to contact me for any assistance you require.
Ken Matys
President
801-404-0280 Office
385-539-1181 Cell
Click HERE for the PDF Cut Sheet. You can also view it as a thumbnail found in the image section for this product.
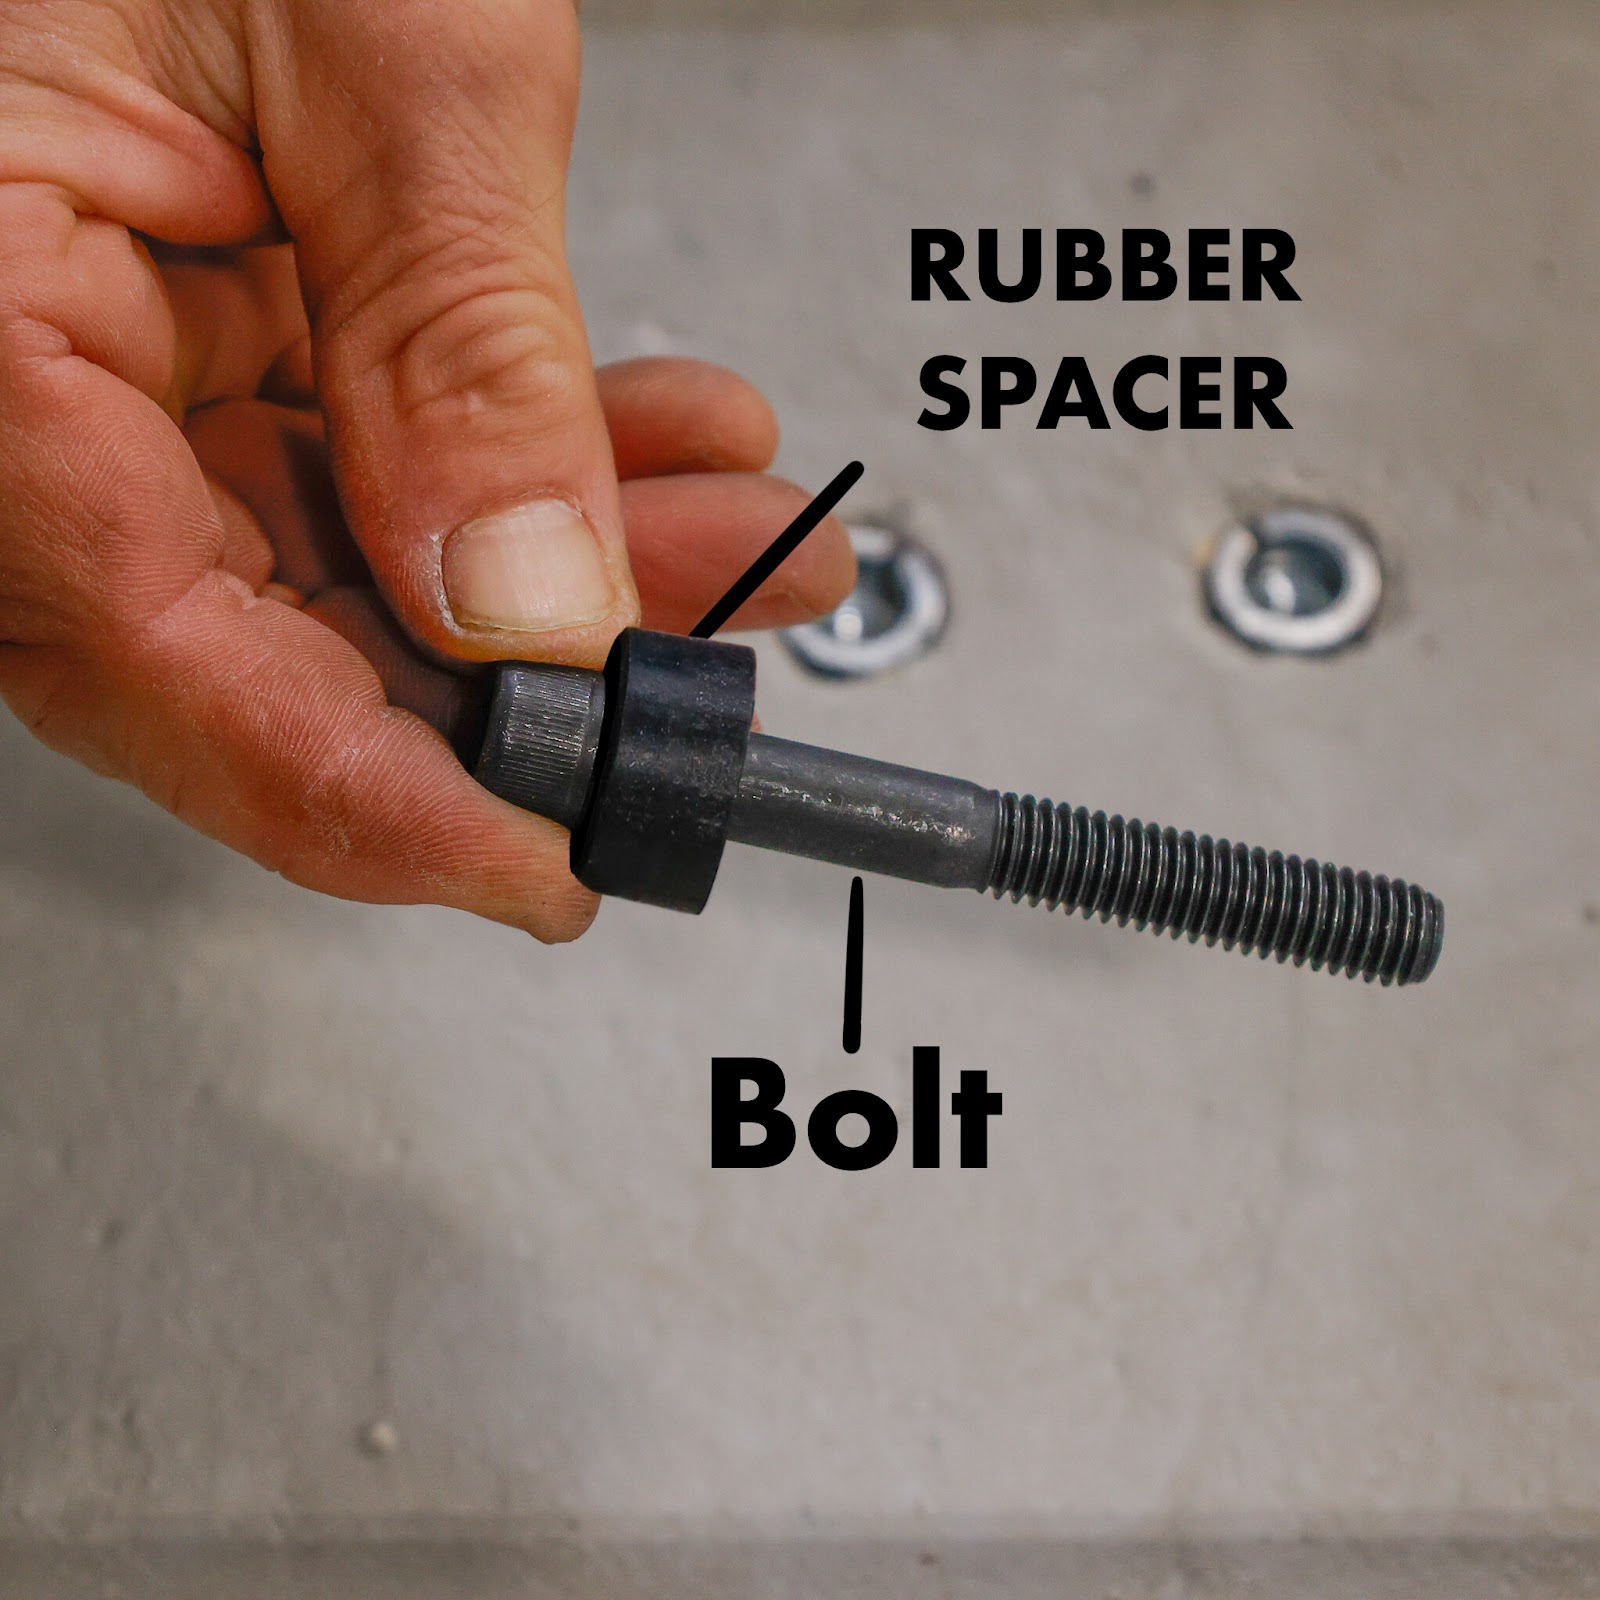
This is a "kit," which means it comes with rubber washers and alloy steel bolts to attach the Spacer to the concrete mound. You will still need to purchase the Concrete Hollow Set Anchors.
This listing is sold as one Spacer, two alloy bolts, and two 1/2" tall rubber washers. The climbing holds are not included.
This resin spacer is meant to be covered by 1/2" of Poured in Place/Soft Play Rubber.
This Spacer only works for the 10-pack 2 Bolt product. Its intended use can be viewed in the video below. If you need help ordering this product, call our office at 801-404-0280. We encourage you to contact us as the people who answer our phones have personal experience with hundreds of install applications of this product.


Step-by-Step Installation Process:
For the PDF file of the step-by-step process, click HERE.
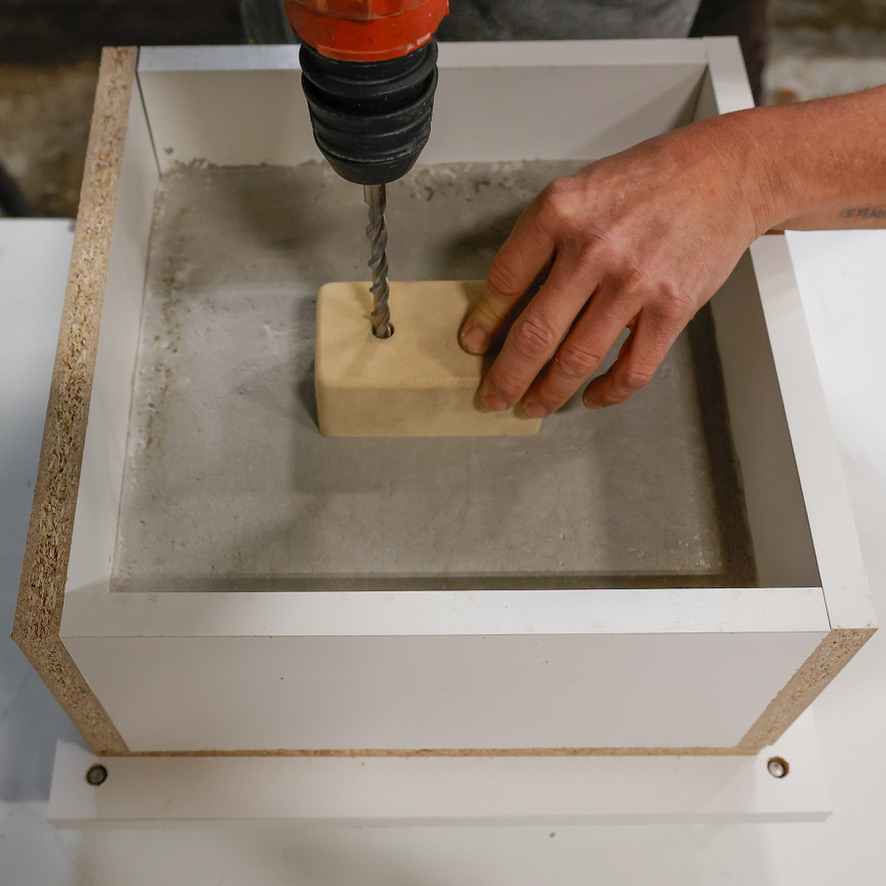
Step One: Mark Holes
Mark holes with ⅜" bit. Use the resin spacer for the correct placement.
____________________________________________________________________________
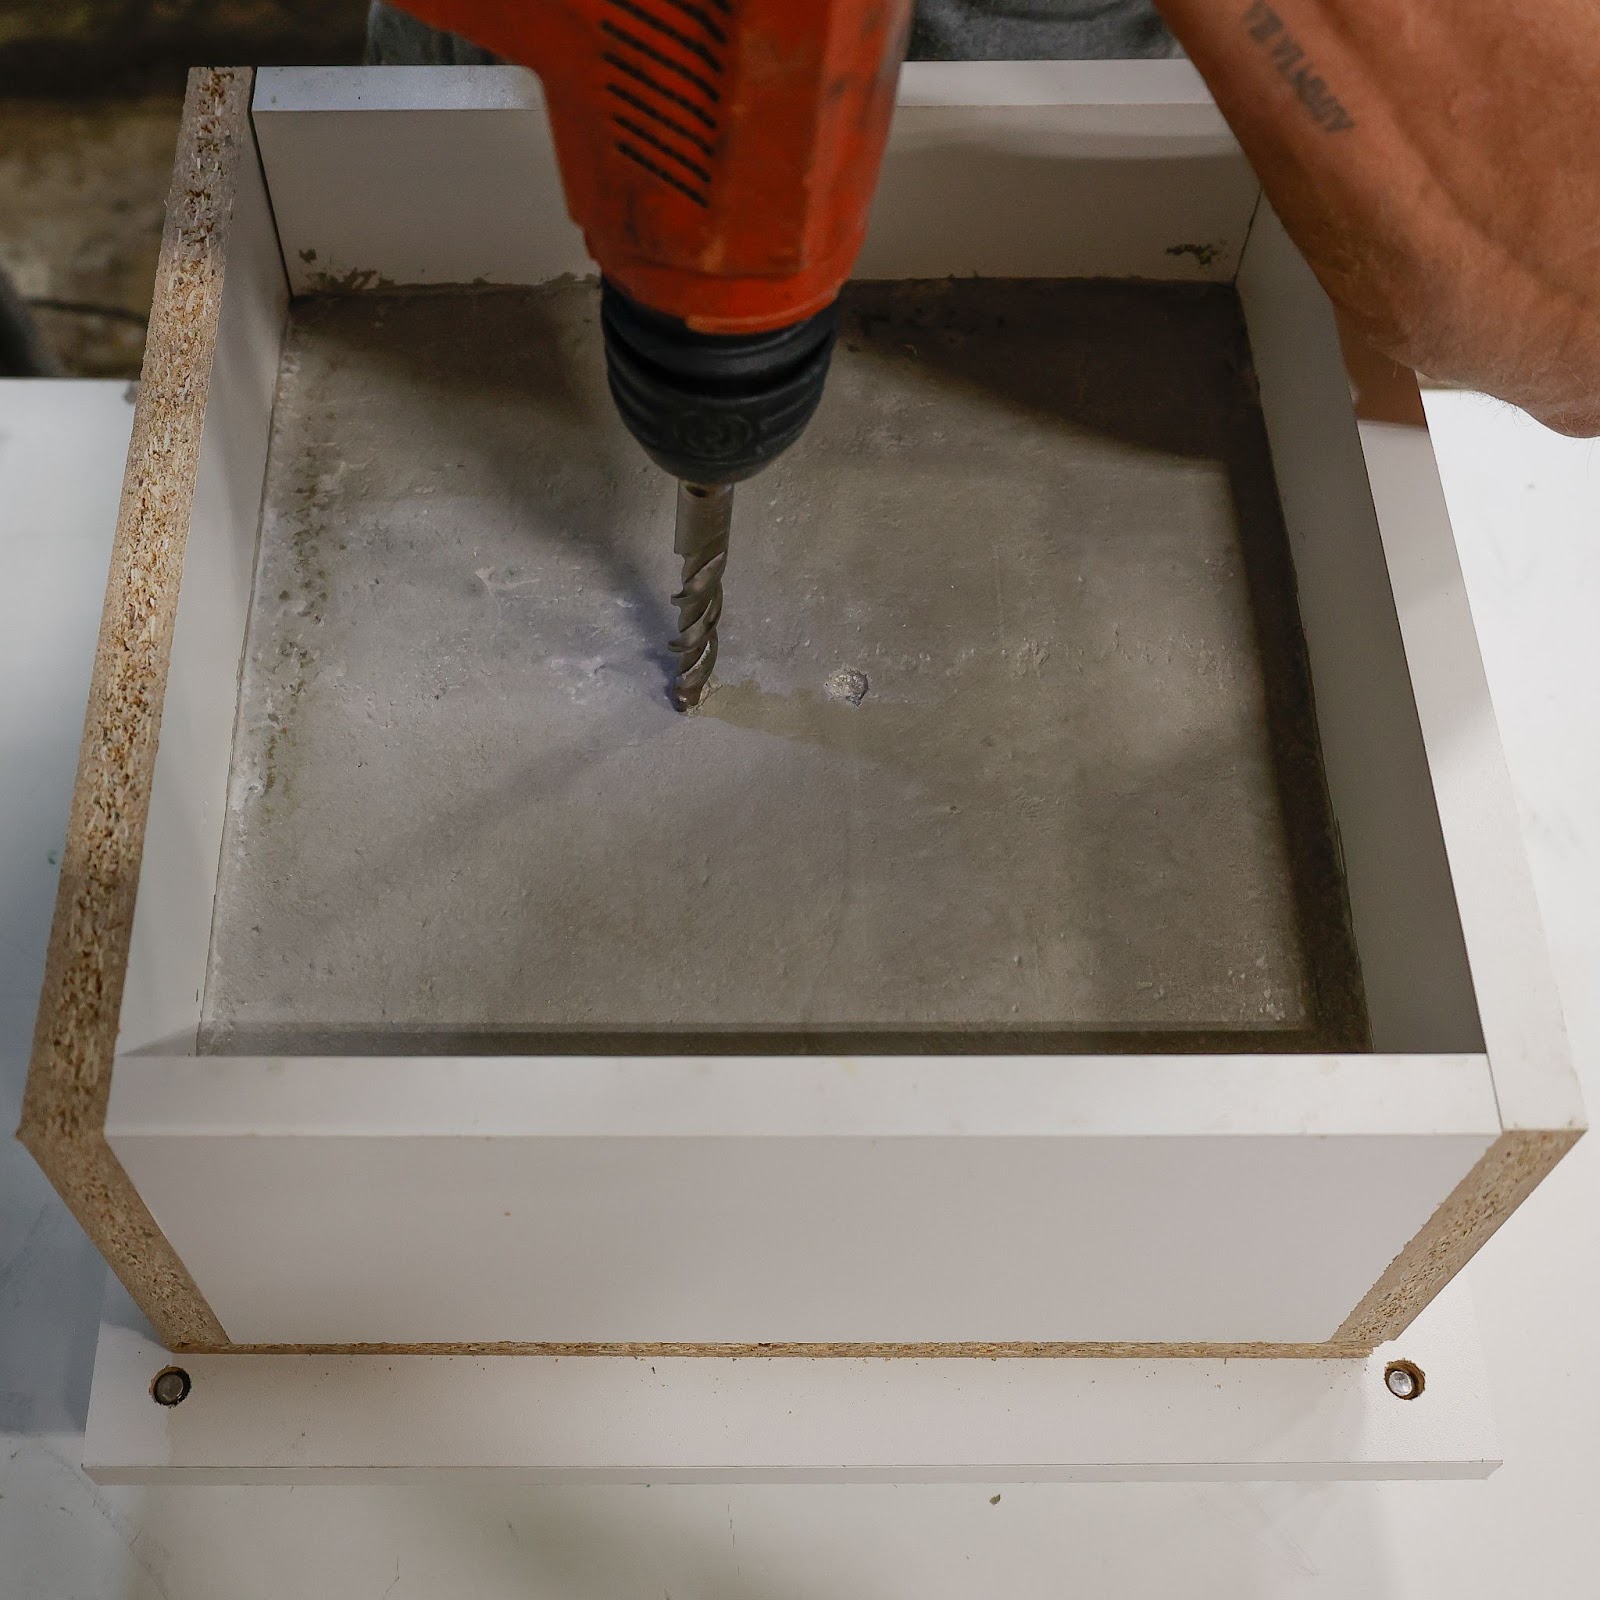
Step Two: Drill Holes
Drill ⅝" holes at least 2" deep for concrete hollow set anchors.
____________________________________________________________________________
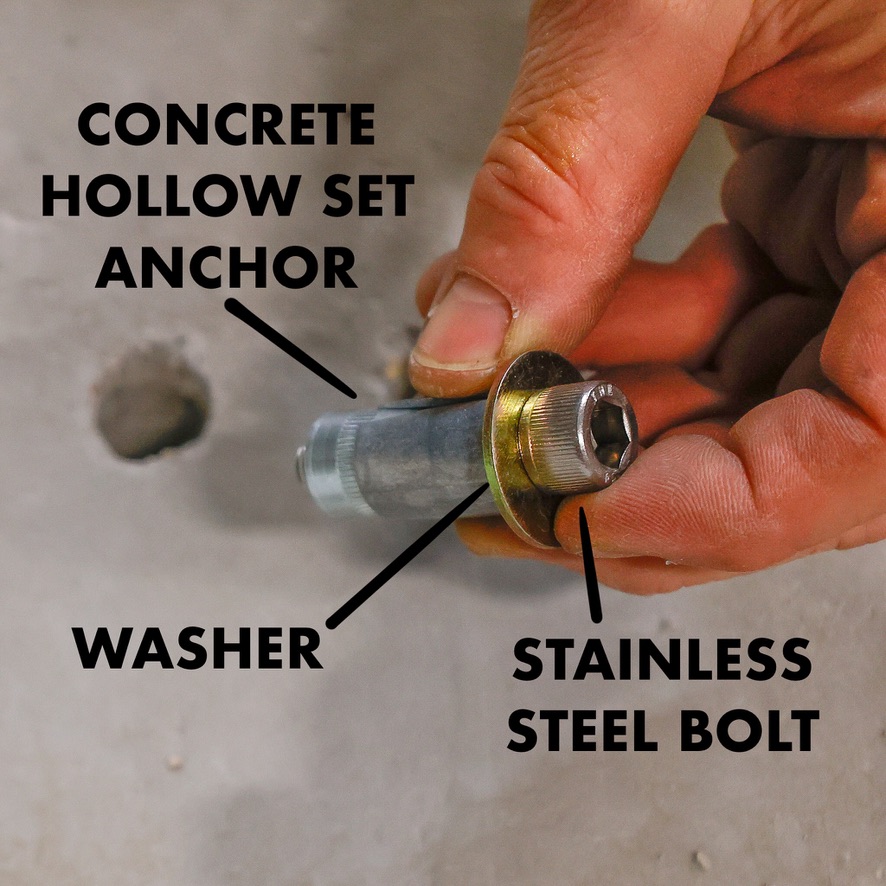
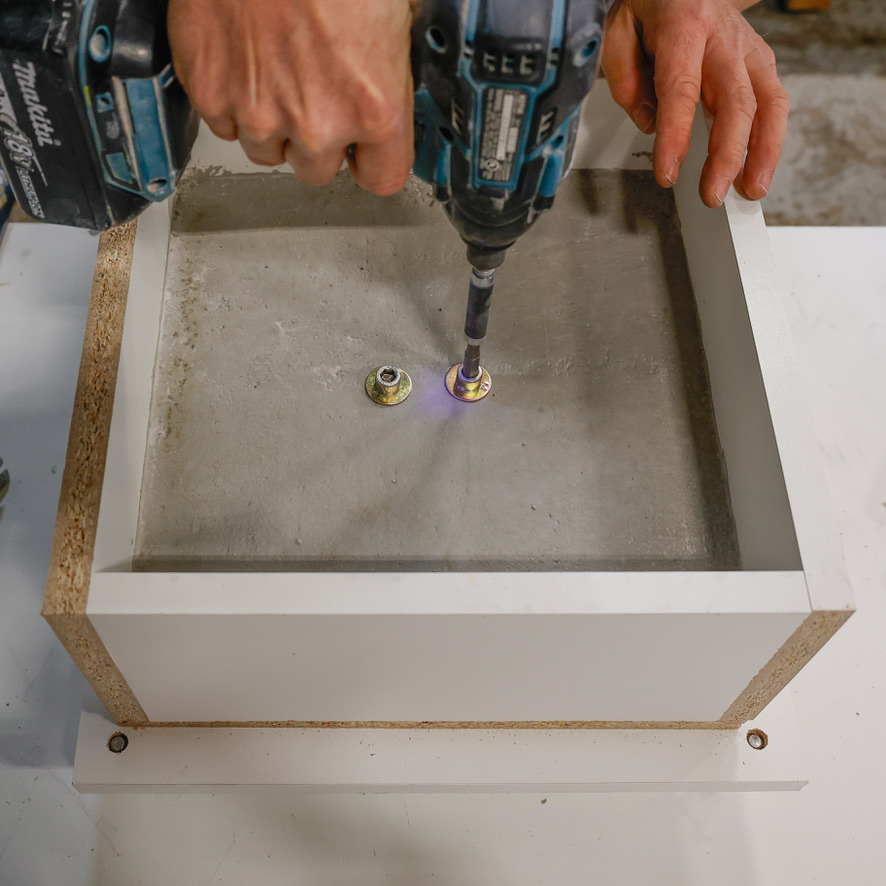
Step Three: Set the Anchors
Set up the anchors with a washer and a 1½" fully threaded stainless steel bolt. Place anchors in holes and lightly hammer them in. Use an impact driver with a 5/16" hex head impact bit to expand the anchor in the hole. Remove the stainless steel bolts and washers once the anchors are set.
____________________________________________________________________________
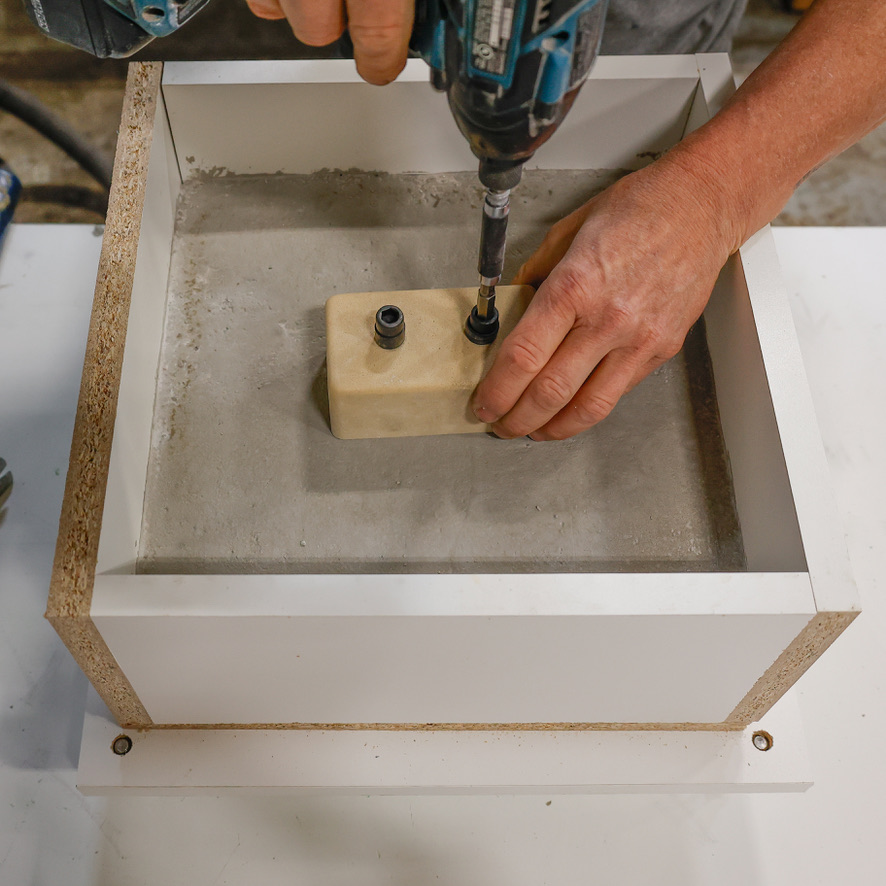
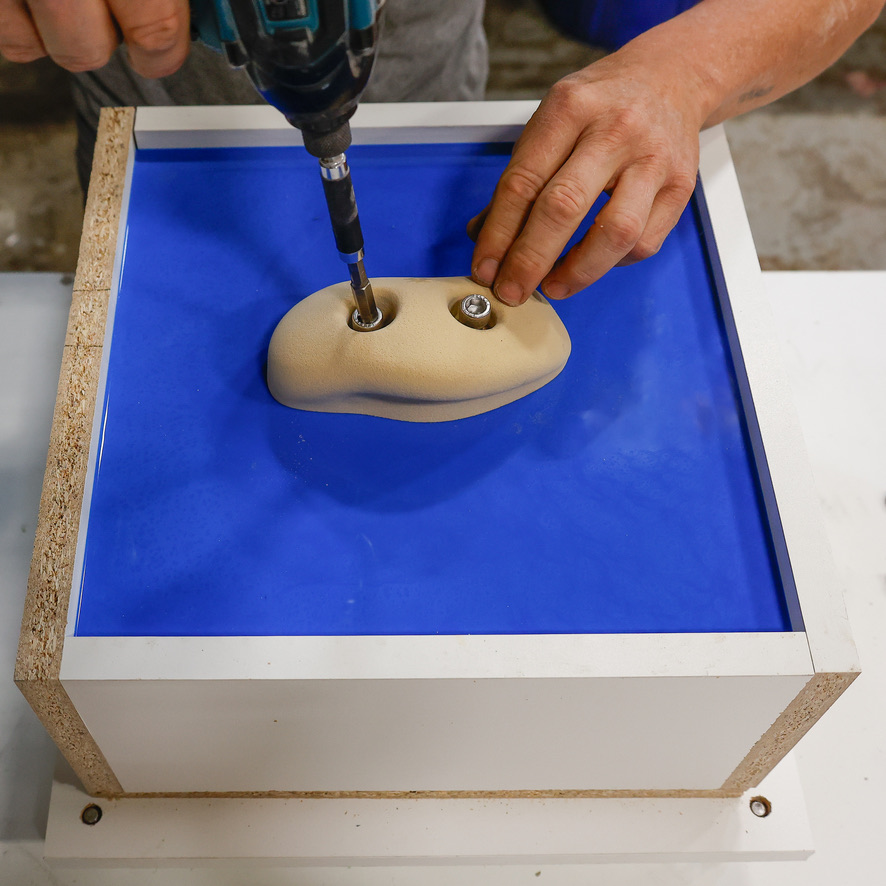
Step Four: Place Spacer
Place the rubber spacers onto the ⅜" black alloy steel bolts and then tighten the resin spacer to the concrete surface. The bolts must have rubber spacers on them. The contactor putting in the Poured in Place Rubber (PIP) should trowel the surface to the top of the rubber spacer, which is directly under the head of the bolt.
____________________________________________________________________________
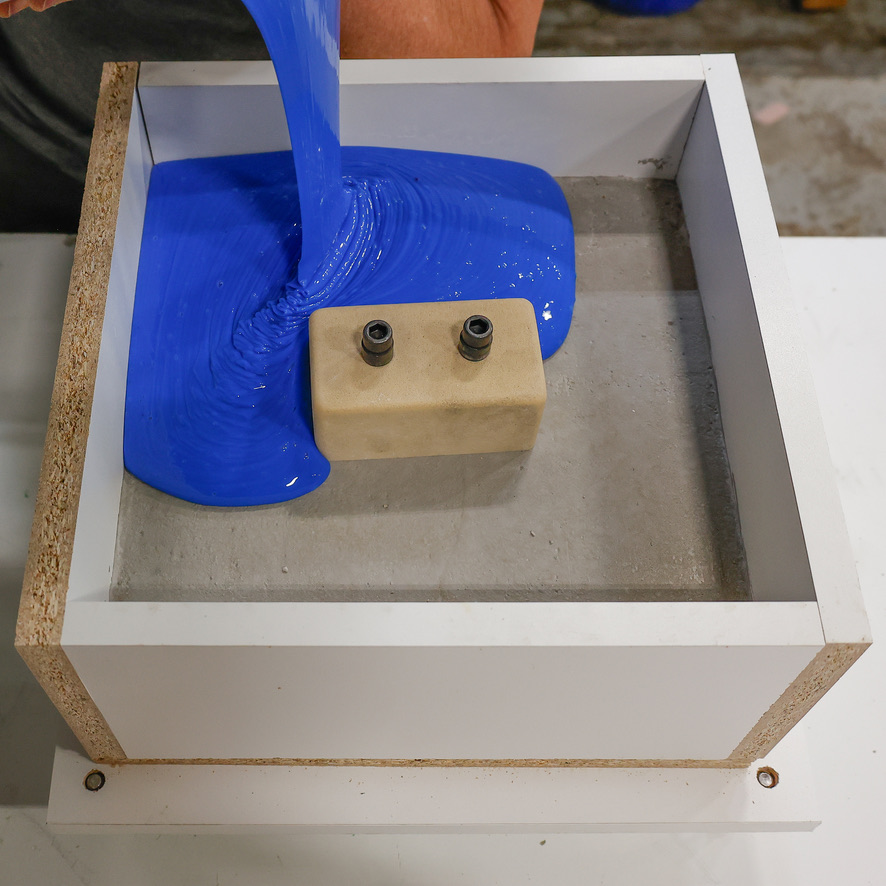
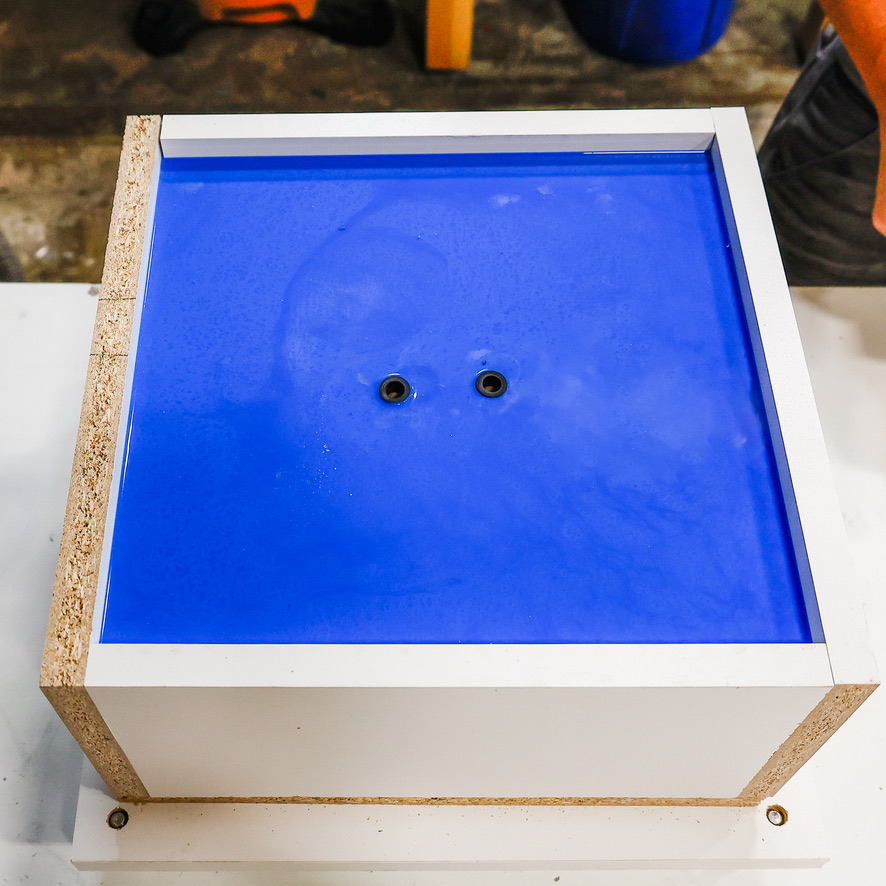
Step Five: Install Poured in Place Rubber (PIP)
Pour/trowel PIP/soft play to the top of the rubber spacer.
____________________________________________________________________________
Step Six: Remove Black Bolts
Remove the alloy steel bolts. Removing the rubber spacers is optional.
____________________________________________________________________________
Step Seven: Install 2-Bolt Climbing Hold
Put the 2-bolt climbing hold in place with two stainless steel bolts of appropriate length. Hand thread to seat bolts into anchors, and then use an impact driver to finish installing.
| Attribute name | Attribute value |
|---|---|
| Total Holds | 1 |
55 East 600 South, Provo, Utah 84606
Tel. 801-404-0280
[email protected]