Homewaller: What Are the Most Common Mistakes You See?
What are the Most Common Mistakes You See?
This article comes to you courtesy of Homewaller posted on August 30, 2021, at the following link. The orange text below indicates additional notes added by the team at Atomik.
In theory, building a home wall seems to be a simple and straightforward process. However, there are many nuances and details that greatly impact the end result. Considering these factors at the start will help you avoid common mistakes and get the most enjoyment out of your home wall.
Not Seeking Advice
Home climbing walls are unique installations. While they incorporate many common building techniques, home walls combine them into something quite different than a house or a shed. General contractors and handymen may have a lot of experience, but generally, they build walls for buildings, not for climbers to hang from and jump around on. Do your own research. and don’t be afraid to call us! We will happily consult on your new project.
Review your structural plan with someone you trust. Home walls are heavy and add a lot of stress to the underlying structure. Louie Anderson has seen “many impressive walls that were severely under-engineered and dangerous to climb on”. Get help so your wall is safe, lasts a long time, and doesn’t pull down the ceiling. You may need a self-supporting structure if you rent, or live somewhere permits will be required. If in doubt, make it stronger – add another brace or bolt, more screws, thicker wood, etc. The standard for overhanging climbing walls is 2x6 lumber. The sides usually have sistered (two 2 x 6s together) on the ends. Then the remaining stringers are on 16” centers. If the wall is free-standing, the wall must also have at least 2x6 supports on each end that are secured to the ground. We prefer a beefier post with two sistered 2 x 6s. It is important that the posts cannot be kicked out which means attaching them either to the ground or by running an attachment plate back to the wall.
Get inspired by the community of homewallers around the world. Chances are, someone has already built something very similar to what you want. Talk to friends who have been through the process, and search social media for unique ideas.
Over-Complicating Wall Angles
It’s tempting to pack as many angles as possible into your home wall, but that has drawbacks. Simpler walls with fewer angle changes are easier to build and maintain while providing a more flexible canvas for climbing. If stepping beyond a single angle, two large surfaces is generally better than lots of angle changes.
Wall angles influence the climbing movement and route options. Jackie Hueftle notes “walls with tons of angles tend to shoehorn the route setting into certain moves, and will become uninspiring faster”. A climber’s body position follows the wall angles, so simpler walls allow more continuous movement at that angle.
You can modify it later. Keeping the initial build simple leaves room to add other corners and features later. Temporary or permanent volumes will add fresh angles to your wall, keeping you motivated with new terrain.
Not Steep Enough
Vertical, slabby, and slight overhangs can get boring quickly, and will not get you as strong as steeper walls. If you have the space, aim for at least 20 degrees overhanging, while 30-45 degrees is the favorite angle of homewallers. Kenny Matys notes “if we are dealing with a climber in climbing shoes, never vertical if at all possible”. 30-45 degrees is a favorite for more experienced climbers. That degree of the climbing wall is quite difficult and is not appropriate for children or beginners. If a steep wall is your only option and you are not crushing V5+, expect the need for many jugs.
Improve faster with steep walls. More weight on your arms allows better power, endurance, and stamina training. Footwork on steeper walls strengthens your core. You’ll feel the gains when you visit lesser angled walls at the gym or outdoors.
Big holds stick out on lower angles. This limits your route setting options and creates falling hazards. It’s easy to bump into protruding holds when falling off low-angled walls.
Steep walls can be made easier with sidewalls, volumes, and large footholds. Stem off the sidewall or keep your feet on a kickplate to lessen the angle. Adding jugs to volumes on steep walls can make the climbing feel easier than it looks. There are many ways to take the bite out of steep walls. Conversely, with lower angled walls it’s harder to make the climbing more difficult, it usually just means smaller holds placed further apart.
Steep walls have a few downsides and may not be best for young children or true beginners. However, most people will adjust and learn to climb 20+ degrees quickly. Another reason to avoid steep walls is they require more jugs and larger holds, which are naturally more expensive due to the amount of material used to make them.
Inadequate Fall Zones
You will fall off your home wall. Probably repeatedly, in uncontrolled ways, and in every direction. This is a known risk that you can mitigate. If other people will be climbing on your wall, inadequate fall zones may open you up to liability. The cost of providing a decent landing surface is far less than the cost of recovering from an accident. A safe fall zone will also give you the confidence to try hard and push your limits.
Pad all obstacles you could possibly hit, or move them away while you’re climbing. Imagine your head hitting every object nearby. This includes workbenches, furniture, cars, garage door openers, ceiling joists, trees, fences, or anything else that would hurt you in a fall. Move it, wrap foam around it, or cover it with a crashpad.
Create soft continuous flooring just like you see in gyms. One old crash pad is not enough. Edges of pads, and seams between them, are notoriously hard on ankles and wrists. The more consistent the better, both with height and softness. It needs to extend far enough to protect a big swinging fall from the top – in climbing gyms, this is generally 6-8ft out. Flooring also must be thick enough you don’t hit the underlying surface. While 4” thick mats or crashpads may work for short walls, it’s best to plan 1 inch of foam for every 1-foot of wall height, that’s why you see such thick flooring at climbing gyms. There are no formal standards, but suffice to say that a single crashpad is not adequate protection for most walls.
Decent home wall padding doesn’t need to be expensive, but it may take some time and ingenuity. Scott Rennak describes his setup: “While thrifting I found 16 toddler mattresses, 200sqft of interlocking ½” foam squares for underneath, and several area rugs for the top. Combined it almost feels like a gym for my short garage wall, and I spent about $200.” If you have the budget, commercial flooring providers will install the best possible landing zone that will allow you full use and enjoyment of your wall. When you have a tighter budget, old mattresses are a great choice, just be careful with the cracks where two mattresses meet. Falling in between mattresses can break your ankle. To solve that challenge, use thick and large area rugs, that will spread out your weight keeping your ankles out of the cracks. Another option is to look at the gymnastics industry that mass produces pads. The general rule of thumb is 1/2" to 1" of pad per foot height of your wall. So an 8-foot wall should have a 4" to 8" pad. We appreciate many do not heed that advice. When that approach is taken, never use a pad that is less than 2" thick and industrial grade. Remember, your primary goal is to protect the climber from any head injury.
Homewaller FAQ Team
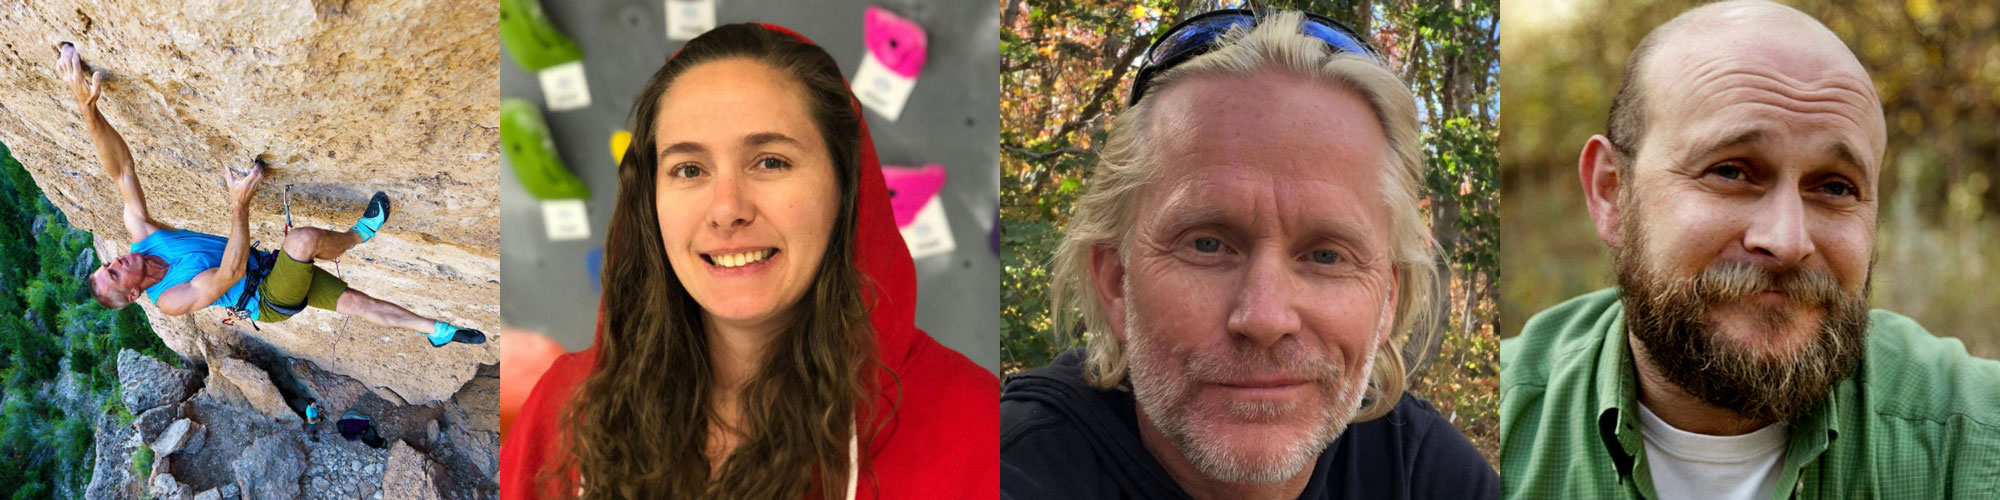
We are fortunate to have the combined knowledge and experience of Louie Anderson, Jackie Hueftle, Kenny Matys, and Scott Rennak. All four provide their answers to each question, Scott collates and writes the article and the team reviews it before publishing. Read more about this team here , and we are working on more, so stay tuned!
55 East 600 South, Provo, Utah 84606
Tel. 801-404-0280
cs@atomikclimbingholds.com